

MADE IN THE USA
with American products
w/ American products


A traditional pergola for outdoor dining should be planned around how your table is actually used: guests sitting down, chairs moving, food being served, and sunlight reaching the dining area. A beautiful pergola can still feel cramped or provide shade in the wrong places if its dimensions are chosen around the tabletop alone. This guide explains how to measure your dining footprint, position the table and posts, and select a shade configuration that supports comfortable outdoor meals.
The right pergola size starts with the complete dining footprint, not the table's advertised length and width. A table that fits comfortably beneath the roof may still leave too little room for guests to move their chairs or walk around one another.
 Start with the table you own or intend to purchase. Record its width and length, including any extension leaves you expect to use for larger gatherings.
If you normally seat six people but occasionally expand the table for family dinners, measure the expanded arrangement. Otherwise, the pergola may work beautifully for everyday meals but feel restrictive when additional guests arrive.
Also record the table's intended orientation. Rotating a rectangular table can change which chairs approach the pergola posts and how easily people enter from the house.
Place the actual chairs around the table, or use their intended dimensions if the furniture has not yet been purchased. Check three positions:
Mark the outermost extent of each position on your patio sketch. Armchairs, deep dining chairs, and chairs with reclining backs may need considerably different movement space, even with the same table.
Do not rely on one universal dining pergola chair-clearance measurement. The useful clearance depends on the actual furniture, how guests enter their seats, and whether someone needs to pass behind an occupied chair.
Chair movement and circulation are related, but they are not the same requirement.
A chair may have enough room to slide backward while leaving no comfortable passage for someone carrying a serving platter. Similarly, guests may be able to walk around a table when chairs are tucked in but find the route blocked during dinner.
Draw the occupied-chair boundary first. Then identify which sides require an additional clear path for servers or guests. Not every side of the table necessarily needs the same amount of open space.
Practical test: Have someone sit in each chair while another person walks behind them. Repeat with a chair pulled out. Mark where movement becomes awkward rather than choosing a clearance from a generic diagram.
The best outdoor dining pergola layout supports the journey between the kitchen, patio doors, dining table, and surrounding outdoor spaces. Table placement should follow that routine, even when it means the table is not perfectly centered beneath the pergola.
Before choosing the pergola's position, trace the routes people will commonly take:
Give particular attention to the route used for carrying food and clearing dishes. A path that feels adequate when empty can become inconvenient when people are seated or a door swings into the passage.
If one side of the table handles most serving activity, placing the table slightly away from that side may create a more functional arrangement than strict visual symmetry.
An attached pergola may be a natural choice when the outdoor dining area sits directly outside the home's primary patio door. The house-connected configuration can help establish a convenient relationship between indoor and outdoor dining, provided the mounting location and post layout allow the needed circulation.
A freestanding pergola offers greater placement independence. It can define a dining destination farther into the yard, beside a garden, or on a separate patio where table positioning and access work better.
Neither configuration is automatically more comfortable. Compare the walking routes, available mounting locations, post positions, and sun exposure before deciding.
A nearby grill or outdoor kitchen may also influence the serving route, but its equipment placement and safety clearances should be evaluated separately.
Post placement is one of the most important differences between a pergola that simply covers a dining table and one that functions comfortably around it. The posts must support the structure without obstructing occupied chairs, pulled-out chairs, or essential walking routes.
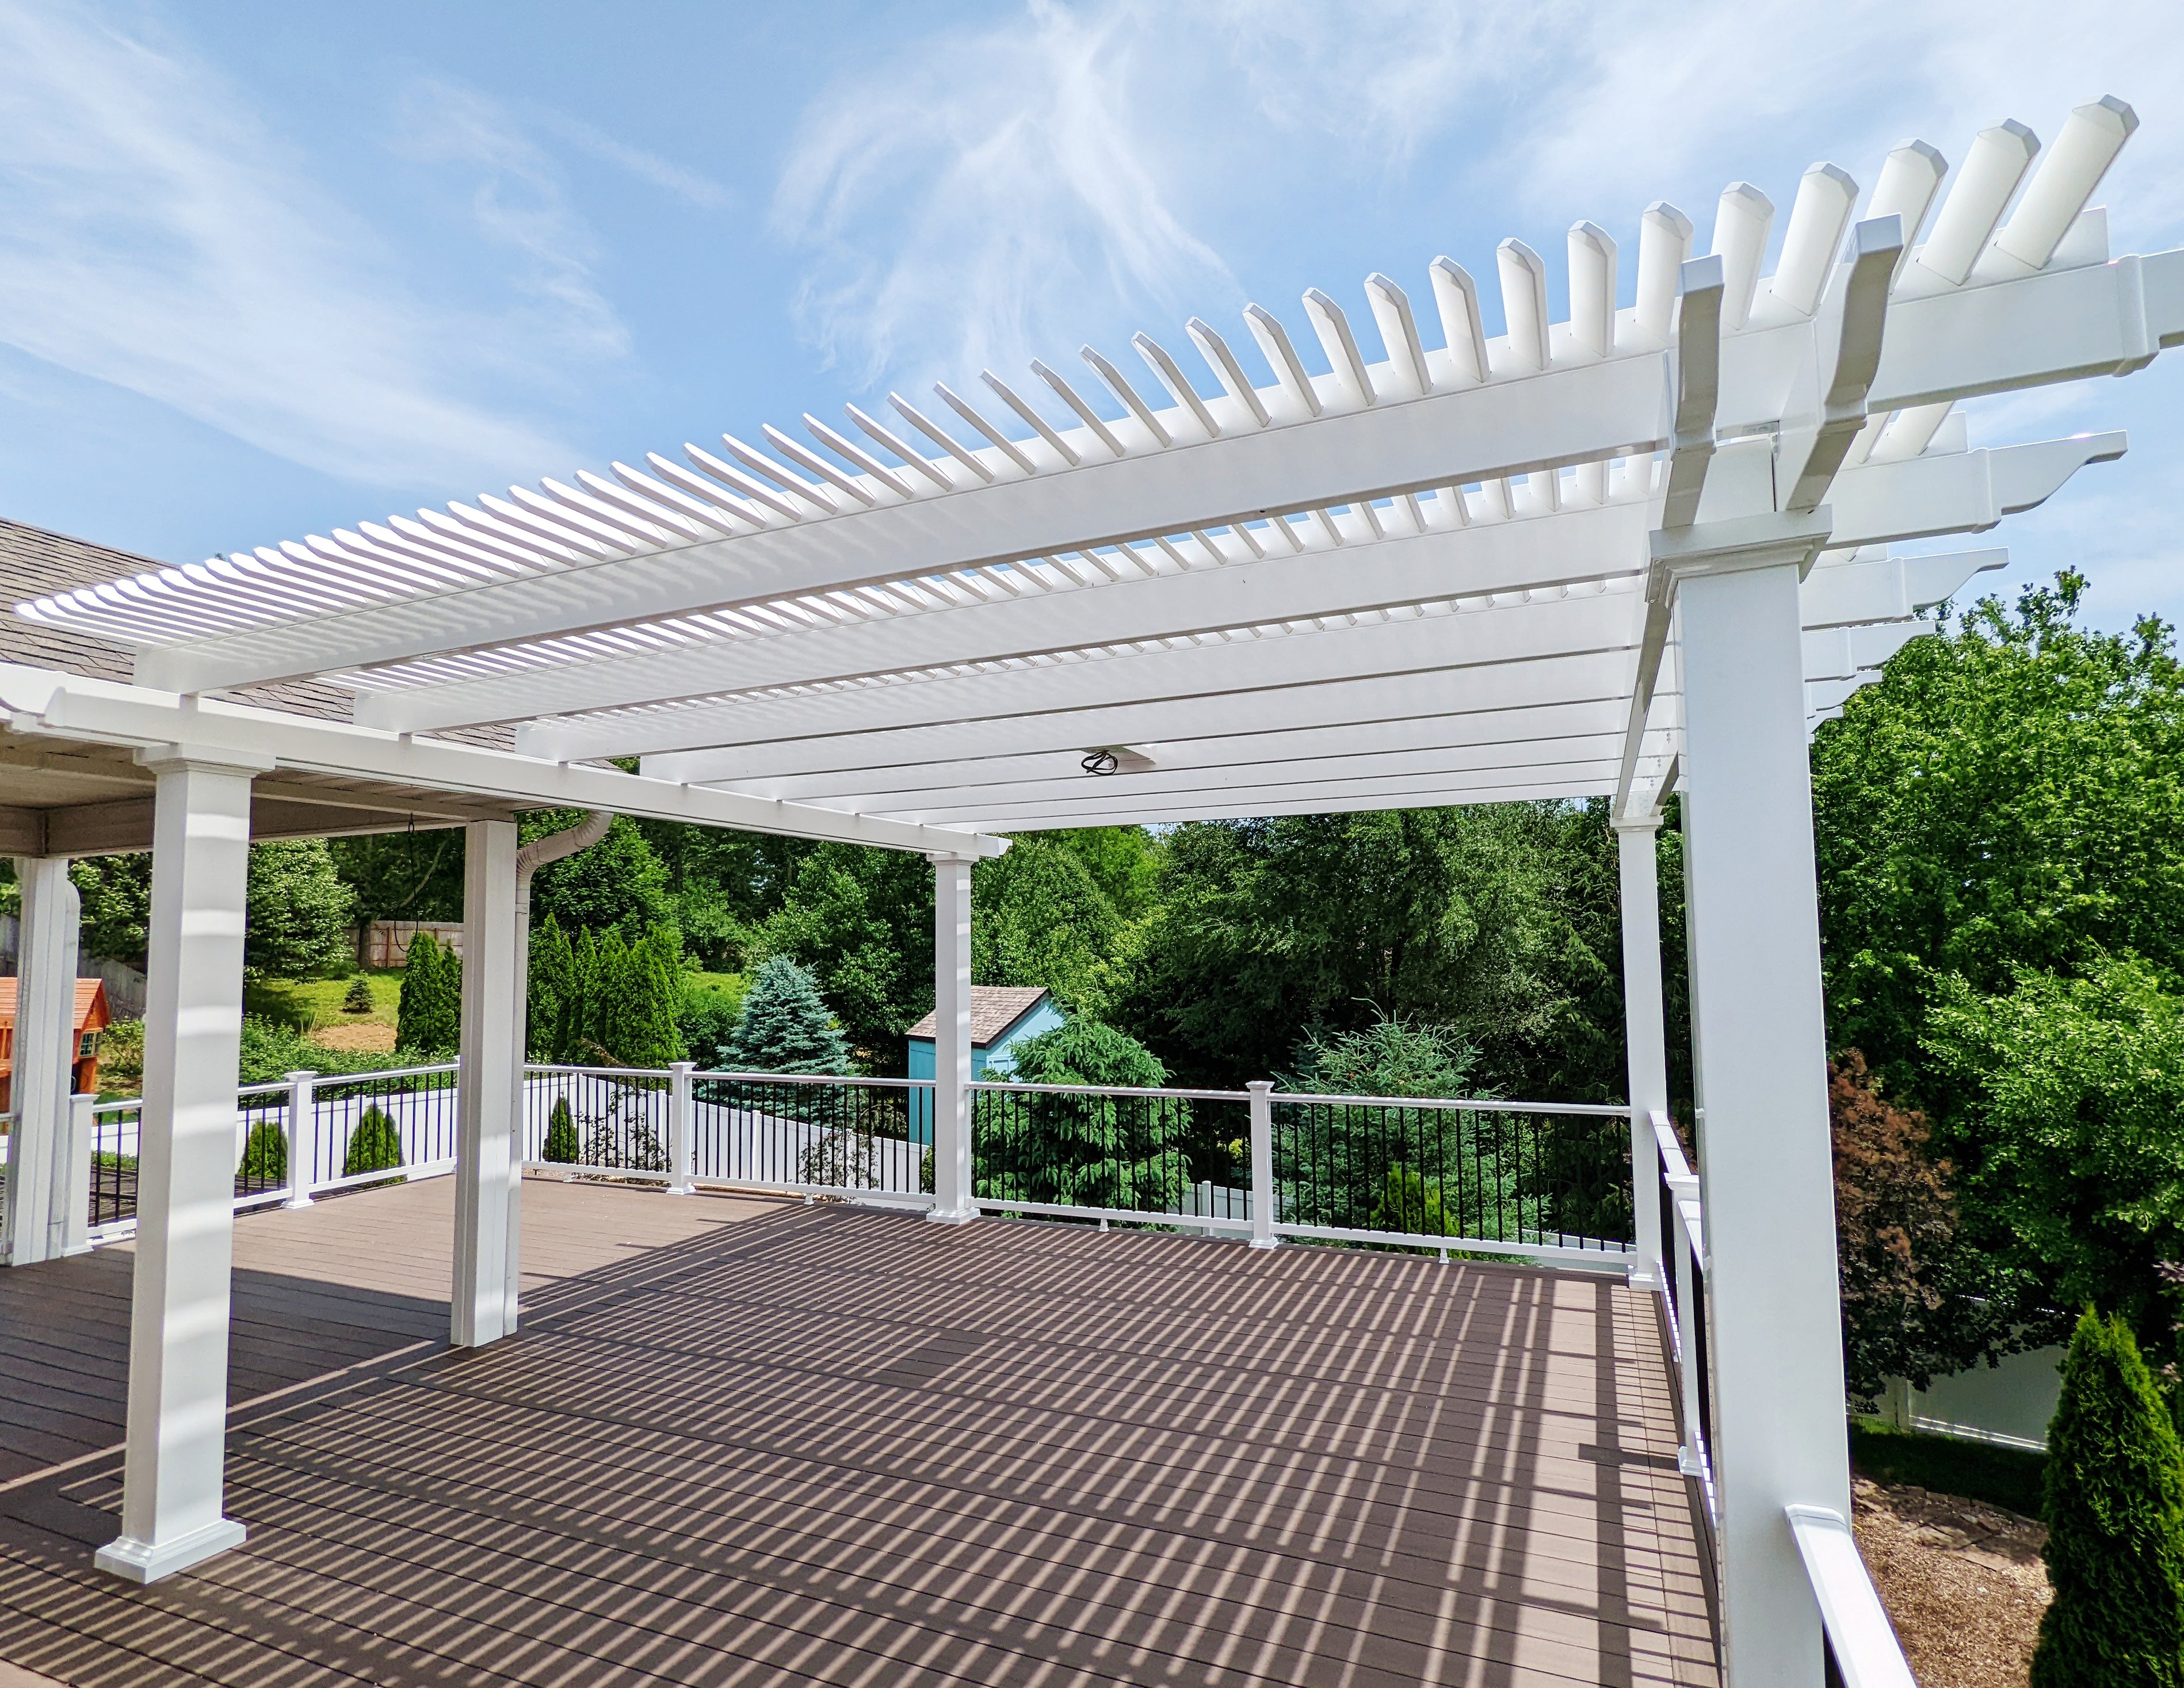
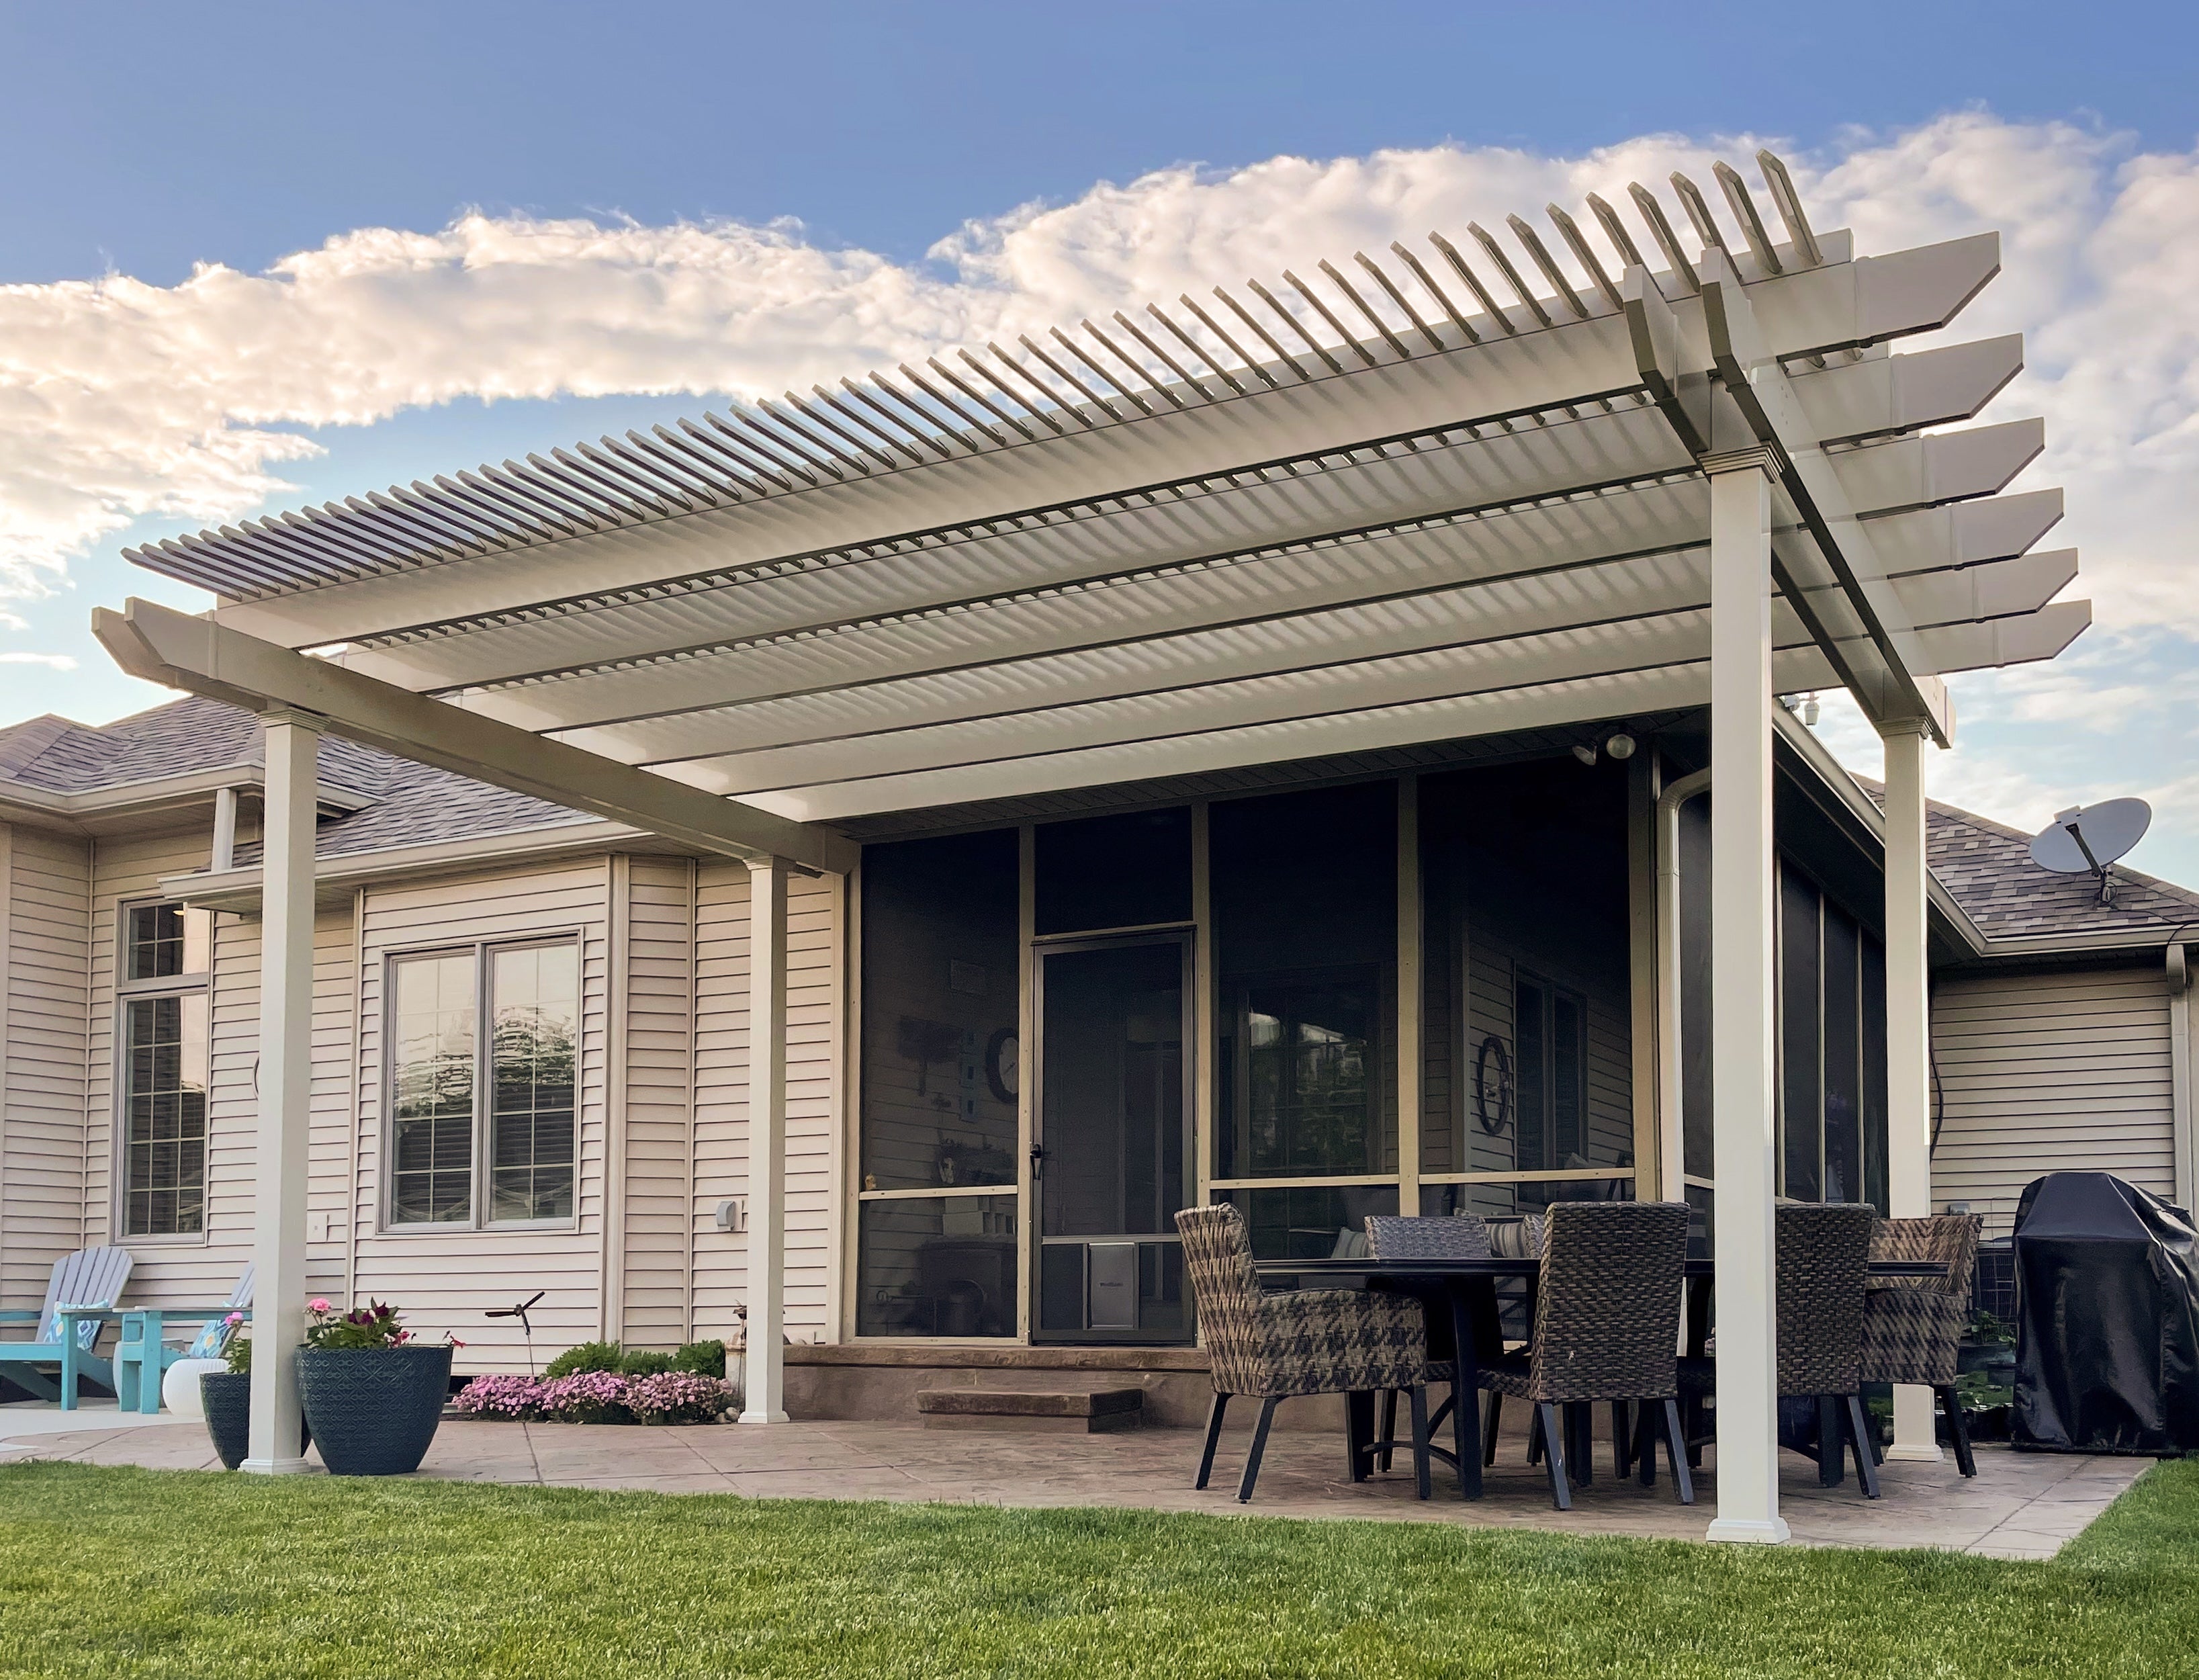 A traditional pergola can have roof overhangs extending beyond its supporting posts. This means the overall roof dimensions and the unobstructed space between posts are two different measurements.
When reviewing a proposed configuration, identify:
Overlay these elements on the same sketch. If a chair or circulation route overlaps a proposed post footprint, reconsider the table position, post placement, or pergola dimensions.
Sunset Pergola Kits' traditional pergolas allow posts at the corners or inset up to 36 inches. Traditional beam and rafter overhangs can also be configured from 0 to 36 inches.
Corner placement generally keeps posts toward the roof perimeter, which may help preserve the central dining area. Inset placement changes the relationship between the roof edge and supporting posts and may be useful when positioning the structure around particular site constraints.
However, insetting posts does not automatically improve dining clearance. Moving a post inward may bring it closer to a chair or serving lane. Evaluate the actual post locations rather than assuming that a larger roof produces more usable space.
Focus on the chairs nearest the posts, particularly at table corners and along the busiest walking route.
Ask someone to sit down, push their chair backward, and leave the table while other chairs remain occupied. If that movement requires turning sideways around a post, pulling the chair into another guest, or stepping into the serving path, the configuration needs adjustment.
For larger tables, also check whether a different orientation or a larger traditional pergola configuration provides better separation between the dining activity and structural supports.
Pergola shade for outdoor dining should be evaluated where guests actually sit during the hours you expect to use the space. Nominal roof shade coverage is useful for comparing configurations, but it does not tell you exactly how much of the table and surrounding seating will remain shaded throughout lunch or dinner.
Visit the proposed dining location during the meals you most want to enjoy outdoors. Note where direct sunlight falls at the beginning, middle, and end of a typical meal.
Pay attention to individual seats rather than only the tabletop. An arrangement might shade the center of the table while guests along one side remain exposed to direct sunlight.
Also consider whether the sun approaches from the side. A slatted roof provides overhead shade, but low-angle sunlight can enter beneath the roof edge.
Because sun position changes with the season, observations made on a single day should not be treated as a year-round shade guarantee. Recheck the likely solar exposure for the seasons when you expect to dine outdoors most often.
Sunset Pergola Kits offers three fixed shade-purlin arrangements for traditional pergolas. The purlins are angled roof slats, with spacing selected when configuring the kit.
| Shade Coverage | Purlin Spacing | Dining Consideration |
|---|---|---|
| 50% | 6 inches on center | A more open slatted arrangement for dining areas where greater openness is preferred. |
| 75% | 4 inches on center | An intermediate option for homeowners balancing shade coverage with a more open roof appearance. |
| 90% | 3 inches on center | The densest offered shade arrangement for dining areas where stronger overhead shade is the priority. |
The percentages describe the offered shade configurations, not guaranteed shade over every chair at every hour. Roof orientation, sun angle, season, and the position of furniture beneath the roof all affect the experienced result.
The spacing is fixed. These pergolas do not have adjustable, motorized, or retractable roof slats.
When evaluating roof coverage, include the occupied chairs and any seating areas where people are likely to move during a meal.
A roof sized closely around the table may provide pleasing coverage when the sun is high but leave outer chairs exposed as the sun shifts. Depending on the direction of sunlight, a different table position, pergola orientation, or roof footprint may improve useful shade.
Use the observed sunlight pattern to decide which portions of the dining footprint deserve priority. If afternoon dinners matter more than occasional midday lunches, those dinner conditions should carry more weight.
Remember that a traditional slatted pergola is not rainproof. Even its 90% shade option does not create a watertight dining space.
Before selecting the final kit, combine the furniture measurements, serving paths, post locations, and meal-time shade observations into a single dining plan. This is also the time to confirm whether optional comfort features and the proposed installation location work together.
 Use painter's tape, chalk, or temporary markers to outline the intended dining area on the actual patio or deck.
Mark the proposed post footprints, roof perimeter, table location, occupied-chair positions, and important circulation lanes. Use the actual furniture wherever possible.
Then simulate a normal gathering:
If the arrangement feels crowded during the mockup, adjust it before committing to structural dimensions. Even a small improvement in table placement may resolve a conflict without changing the entire pergola design.
Sunset Pergola Kits offers optional fan mounts for traditional pergolas. If you intend to include a fan, identify its preferred position and confirm the appropriate mounting arrangement before ordering.
For lighting, verify the compatibility of the desired fixtures, mounting hardware, and electrical installation requirements. Do not assume that particular lighting products, wiring, or electrical accessories are included with the pergola kit.
Also confirm the proposed structure's exact dimensions, post arrangement, attachment or anchoring requirements, and suitability for the installation site. A final drawing should distinguish roof dimensions from post positions and furniture clearances.
A useful dining brief does not need to be complicated. Record the following decisions in one place:
With these details established, you can compare pergola configurations based on how well they serve the dining area rather than relying on appearance or overall roof size alone.
A comfortable traditional pergola for outdoor dining begins with diners in motion, not an empty table. Measure the furniture as it will actually be used, preserve clear serving routes, keep posts out of chair movement, and evaluate roof shade during the meals that matter most.
Once you have a measured dining brief, explore traditional pergola kits and compare the available roof dimensions, post configurations, and fixed shade options against your layout. The right configuration should make outdoor meals easier and more enjoyable, not simply provide a roof large enough to fit the table.
Yes, if you expect to use the extension leaves beneath the pergola. Measure the fully extended table with all intended chairs in place, including the space needed for guests to sit, stand, and move around it. This helps prevent a layout that works for everyday meals but feels cramped during larger gatherings.
No. A slightly off-center table can be more functional if it preserves the main route between the house and dining area. Prioritize clear serving access and comfortable seating while checking that the new position still receives useful shade during your preferred dining hours.
Yes. Overall roof dimensions do not indicate how much unobstructed space remains between posts or around occupied chairs. Compare the table's complete dining footprint, post locations, and serving paths rather than relying on roof width and depth alone.
No. The 90% shade option uses fixed roof slats spaced 3 inches on center, but it is not watertight. If keeping the dining area dry is essential, consider a rainproof patio cover with a solid polycarbonate roof instead.
Yes. Sunset Pergola Kits offers optional fan mounts for traditional pergolas. Confirm the desired mounting position, fan compatibility, and electrical requirements before finalizing the configuration. Do not assume that the fan or its wiring is included.
Test the actual dining arrangement with chairs occupied. Have someone pull out a chair, stand up, and leave the table while neighboring guests remain seated. Check that the movement does not collide with a post, block an essential walking route, or require other guests to move their chairs.


