

MADE IN THE USA
with American products
w/ American products


DIY vinyl pergola installation can be a rewarding way to improve your outdoor living space while reducing installation labor costs. But installing a permanent, aluminum-reinforced vinyl pergola is different from assembling a lightweight decorative structure. Before deciding whether to install a vinyl pergola yourself, you need to evaluate the entire project: preparing the site, supporting and securing the structure, handling large components, and assembling the kit safely. This guide helps you determine whether full DIY, professional installation, or a combination of both makes the most sense.
The first step in evaluating a vinyl pergola kit installation is distinguishing the assembly itself from the work required to support and secure the finished structure. A homeowner might be comfortable assembling posts, beams, rafters, and shade slats but lack the experience needed to evaluate a deck or attach a structure to a house.
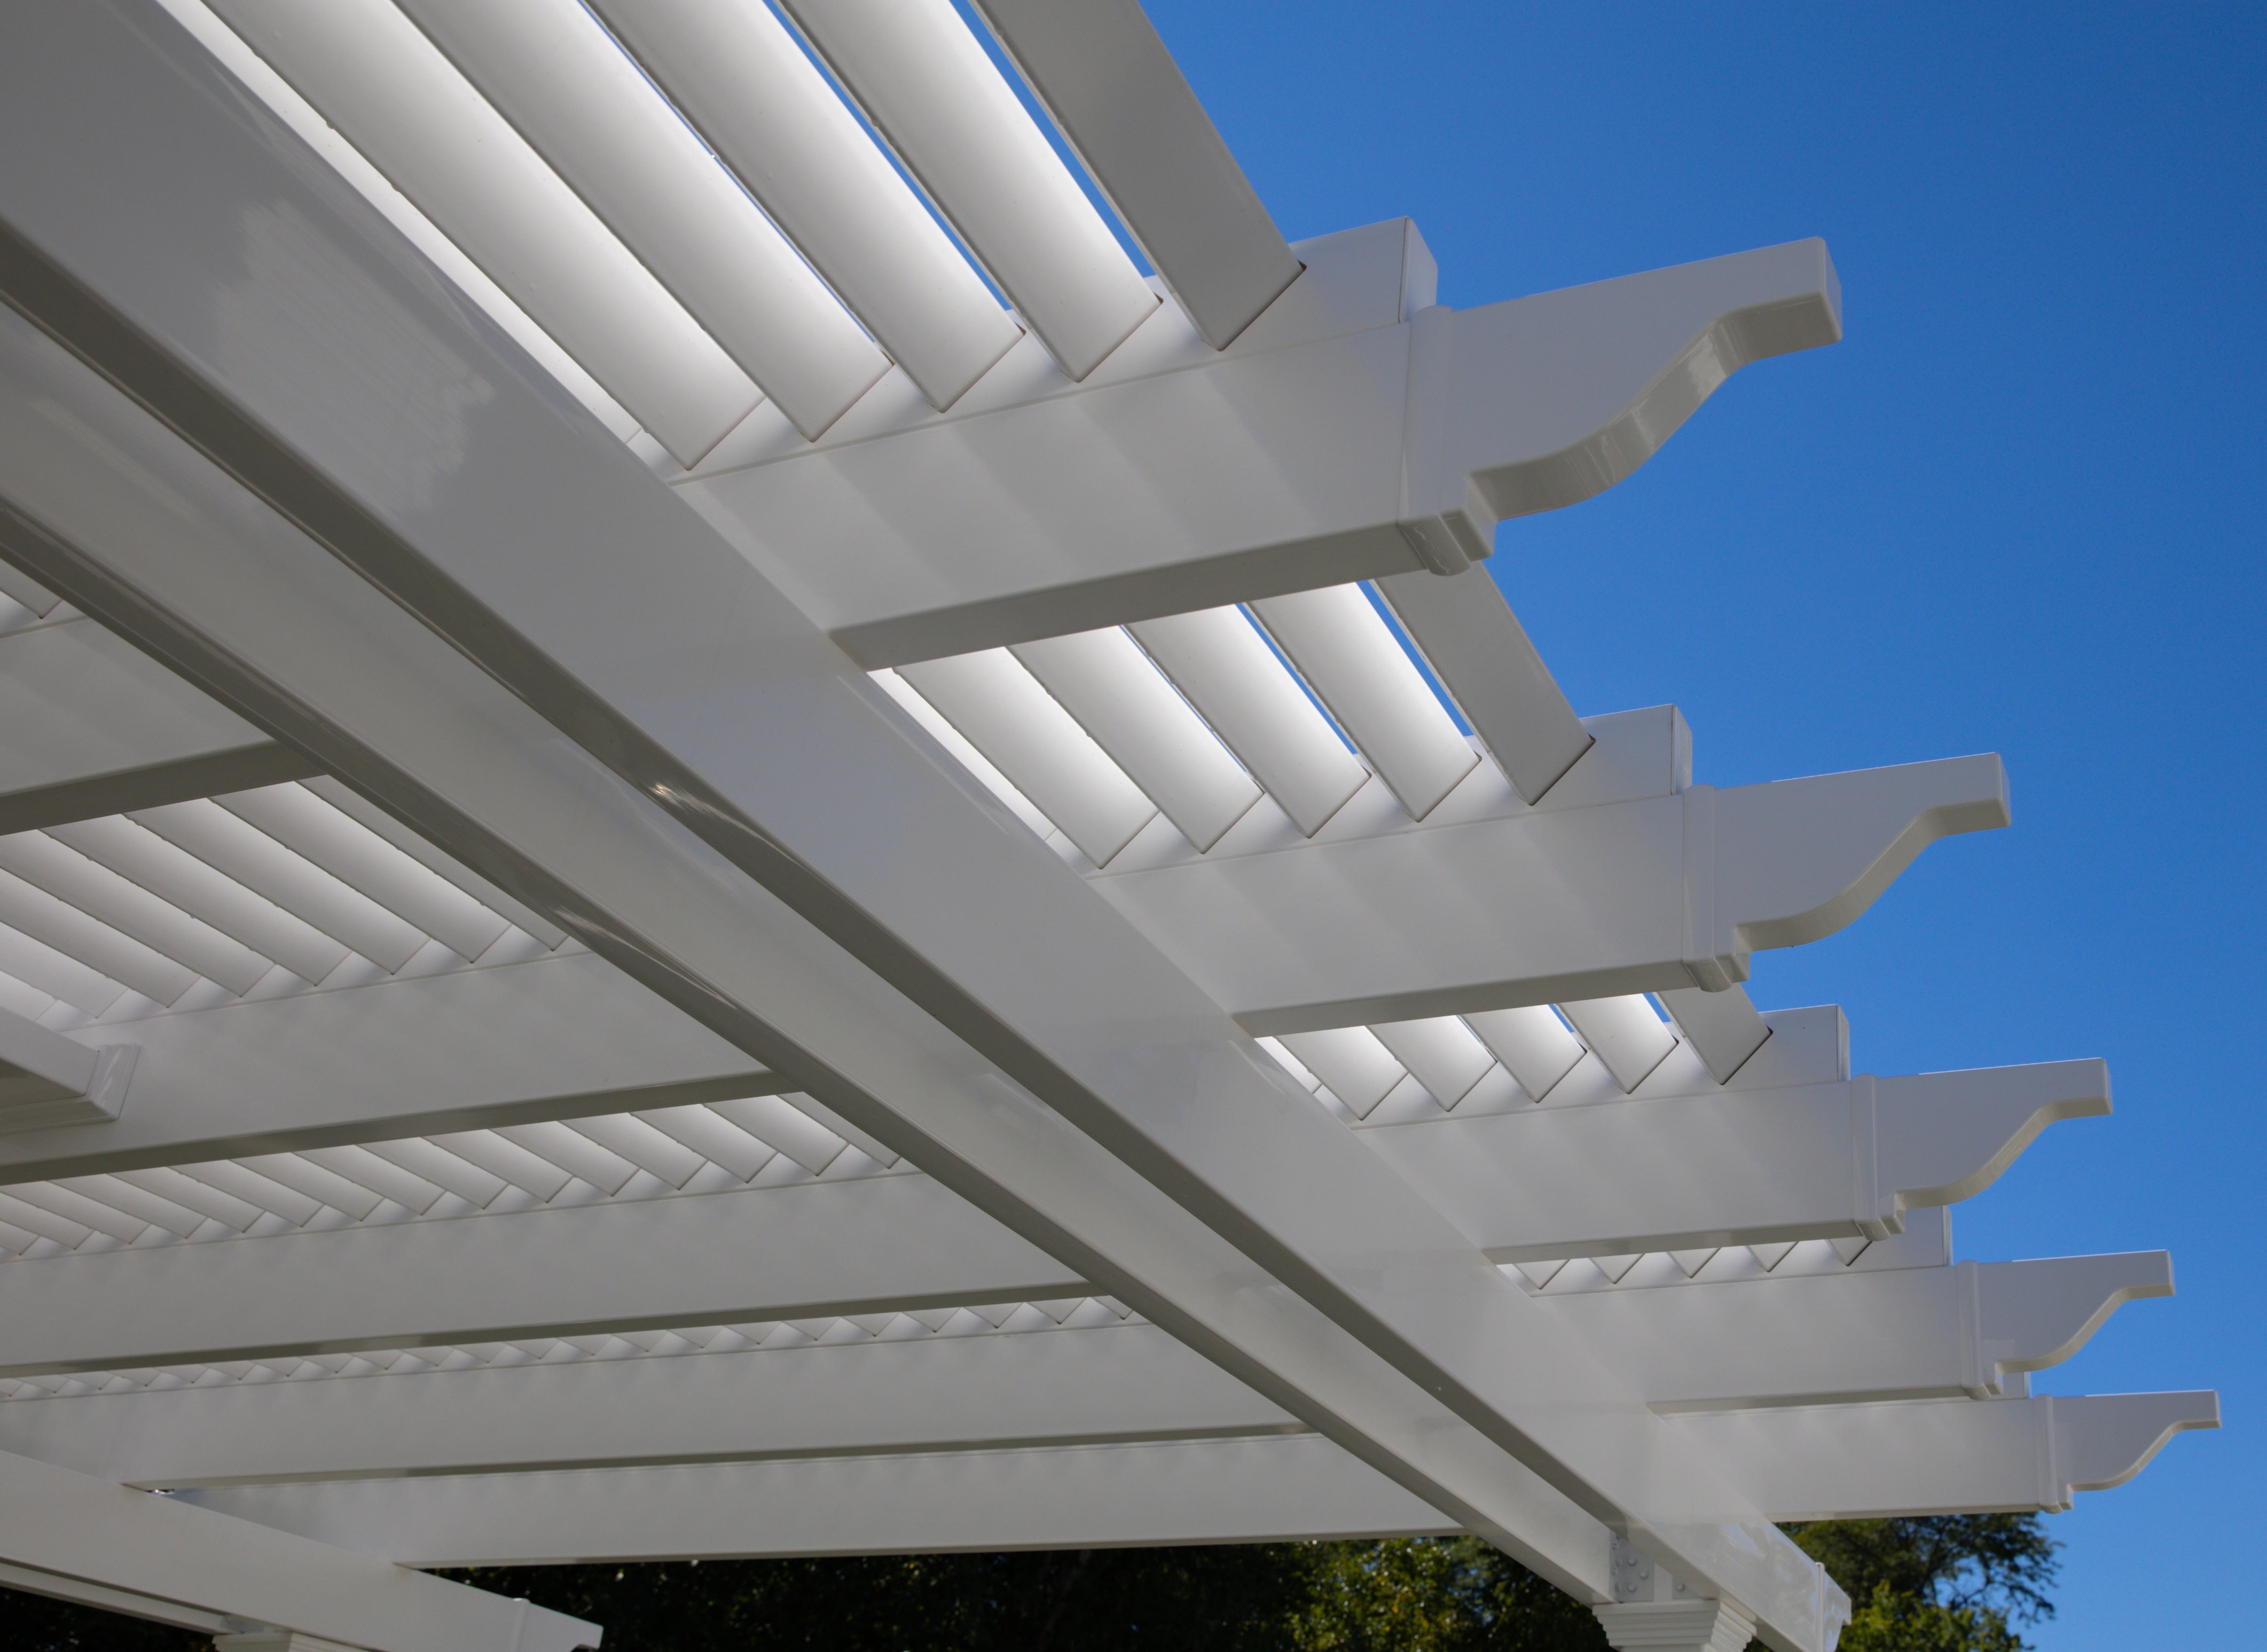 Assembly generally involves organizing the supplied components, following the manufacturer's instructions, positioning the structural members, and securing the parts together in the prescribed sequence.
Sunset Pergola Kits' traditional and modern pergolas feature aluminum-reinforced posts, beams, and rafters with premium extruded vinyl exteriors. These are permanent outdoor structures rather than lightweight decorative pergolas, so accurate positioning and safe component handling matter.
For a homeowner familiar with construction projects, the assembly portion may be manageable. However, the specific kit's instructions, hardware requirements, component weights, and assembly sequence should be reviewed before making that decision.
Several important tasks may need to be completed before the first pergola component is assembled:
These responsibilities can involve different skills from the actual assembly. A homeowner may reasonably choose to do one portion of the project while hiring a qualified contractor for another.
For a more detailed examination of supporting surfaces and connection methods, the key consideration is whether the planned foundation or existing structure can safely accommodate the particular pergola.
Rather than asking whether pergola installation is generally easy or difficult, evaluate whether your particular project matches your experience, equipment, and available help.
Use the following readiness screen before committing to DIY vinyl pergola installation.
You do not necessarily need to be a professional builder, but relevant hands-on experience is important. You should be comfortable reading assembly drawings, measuring accurately, establishing a square layout, using the required tools, and following the specified fastening and alignment procedures.
Experience with decks, framing, or other substantial outdoor projects is more relevant than experience assembling household furniture.
If you cannot confidently interpret the manufacturer's installation instructions, plan on obtaining experienced assistance.
The tools needed to install a vinyl pergola depend on its model, dimensions, attachment method, and supporting surface.
Common tools and equipment to evaluate include:
Do not assume a generic pergola tool list is sufficient. Verify the actual requirements against the installation instructions for your selected configuration.
A permanent pergola is not an ideal solo assembly project. Long beams and rafters may require multiple people to position and stabilize them while connections are made.
The appropriate number of helpers depends on the size and handling requirements of the components, the assembly sequence, and the equipment available.
Before choosing DIY, identify who will participate, what each person can safely handle, and whether they will be available for the necessary stages of installation.
Consider how each long or elevated component will travel from the staging area to its final position. A manageable component at ground level can become considerably more difficult to control when raised overhead.
If your plan depends on people holding substantial components in unstable positions, develop a safer lifting and support arrangement before proceeding.
DIY readiness also means recognizing when not to improvise. Unexpected structural conditions, incompatible attachment details, missing installation information, or unsafe access should trigger a reassessment rather than an on-site guess.
A practical decision rule: If you can confidently explain how the structure will be supported, assembled, lifted, and secured using the approved documentation and available resources, DIY may be realistic. If any critical part remains uncertain, address that gap before ordering or scheduling installation.
Not all vinyl pergola configurations create the same installation demands. Dimensions, structural layout, installation height, and site access can make a significant difference even when the underlying materials are similar.
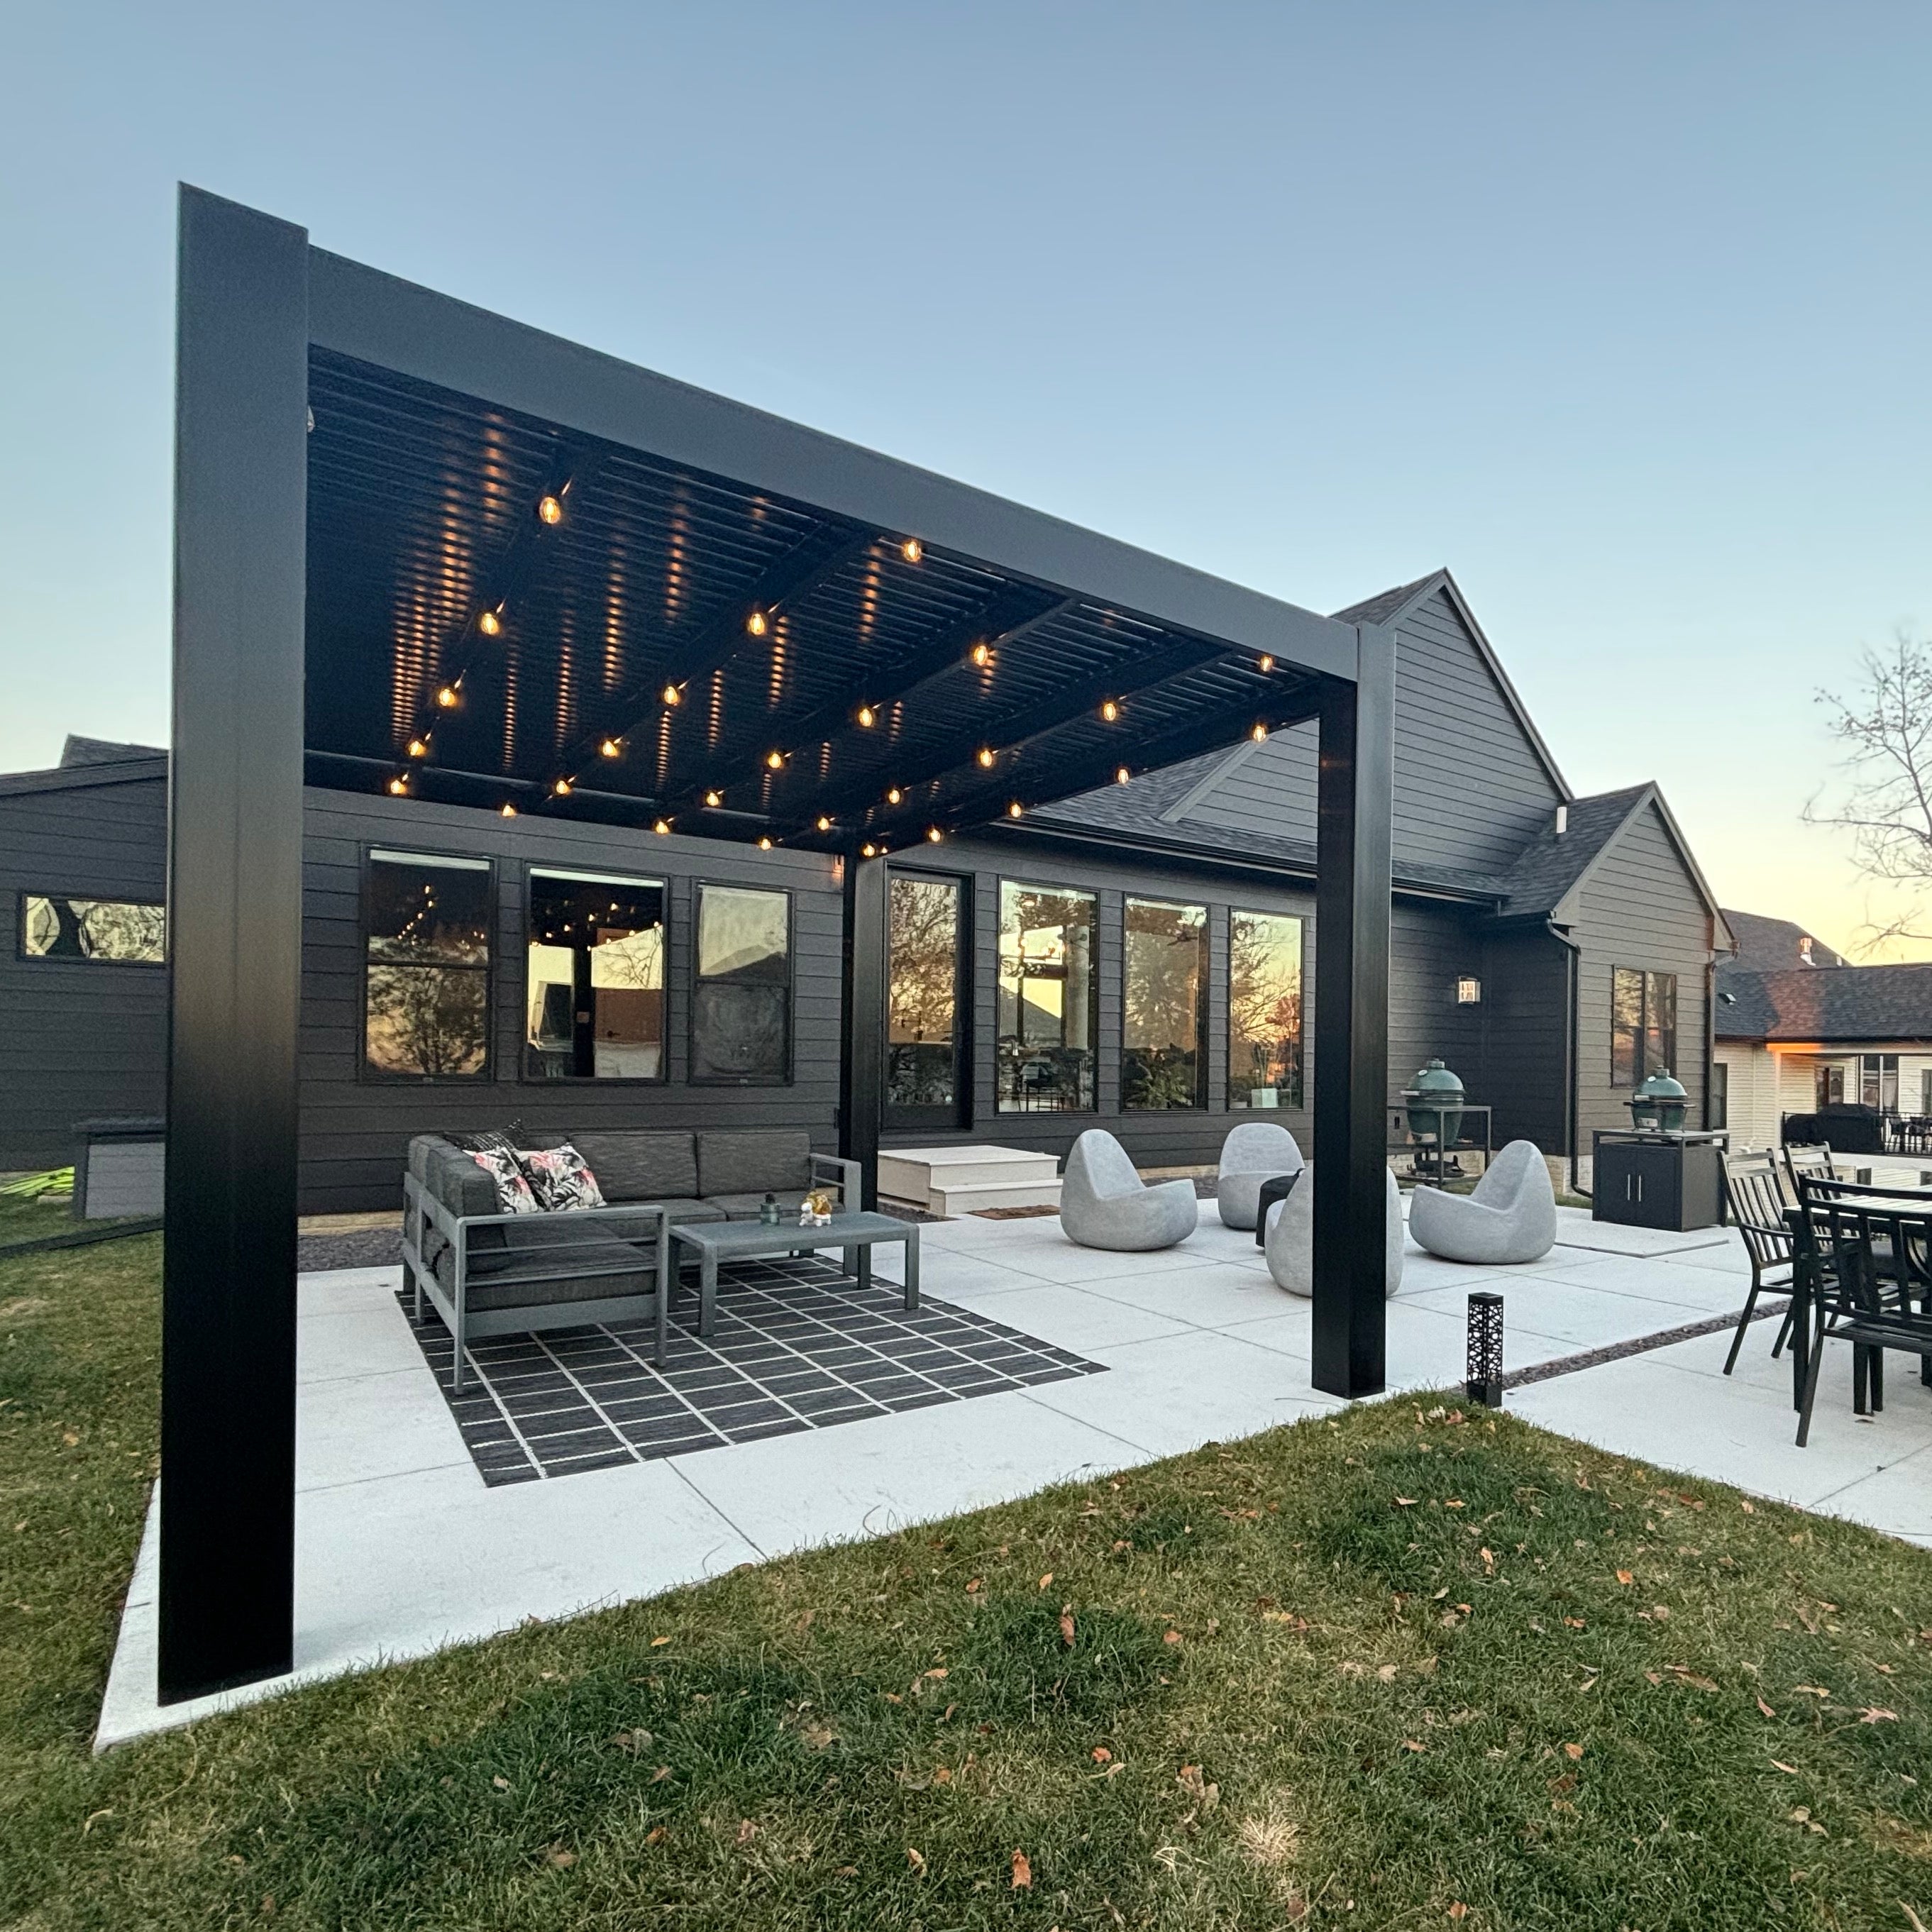 Larger pergolas generally involve longer structural members, a greater area to lay out accurately, and more coordination during assembly.
For example, Sunset Pergola Kits offers traditional four-post freestanding pergolas in configurations ranging from 8 × 8 feet to 24 × 24 feet. Larger traditional configurations can extend to 44 feet along an axis using additional posts.
A smaller pergola may be more manageable for a homeowner crew, while a long-span installation may justify additional helpers or specialized lifting arrangements.
When evaluating the appropriate footprint, consider your available installation resources alongside the outdoor area you want to cover. The ideal pergola size should work for both your intended use and your installation plan.
Post count affects more than appearance. Additional posts generally mean additional layout positions, supports, connections, and opportunities for alignment errors.
A four-post freestanding pergola may be more straightforward to coordinate than a six- or nine-post structure, assuming comparable site conditions.
However, fewer posts do not automatically make installation easier. Longer components spanning between posts may create their own handling challenges.
A freestanding pergola relies on its own support system. Once its support locations and anchoring arrangements are properly established, assembly can proceed without making a structural connection to the house.
An attached pergola introduces another responsibility: a suitable connection to the existing building. The installer must evaluate the house's structural conditions and the appropriate attachment details rather than simply fastening components to visible exterior finishes.
Consequently, an attached pergola with fewer posts can still require more specialized installation experience than a larger freestanding structure.
Traditional and modern designs have different layout considerations.
Sunset Pergola Kits' traditional pergolas can feature beam and rafter overhangs and posts positioned at the corners or inset from the edges. The chosen overhang and post placement affect how the structure is laid out and how components are handled.
Modern pergolas feature flush corners without beam or rafter overhangs, with posts positioned at the corners. Their cleaner geometry does not necessarily eliminate the need for careful alignment or safe lifting.
Neither style should be assumed to be universally easier to install. Compare the actual configurations and assembly documentation.
A pergola on a spacious, level patio with direct access for deliveries presents different challenges from one on an elevated deck, beside a pool, or within a tightly enclosed courtyard.
Restricted access can make moving and positioning structural components difficult. Greater working height can require different access equipment and additional safety planning.
These factors may influence your labor decision as much as the pergola's dimensions.
There are three practical approaches to installing a vinyl pergola kit. The best choice depends on which portions of the work your household can complete competently and safely.
| Installation Approach | Best Suited For | Primary Responsibility |
|---|---|---|
| Full DIY | Prepared sites, manageable configurations, and experienced homeowner crews | Homeowner coordinates site work, assembly, and installation |
| Professional Installation | Complicated structural conditions, difficult access, or limited homeowner experience | Qualified contractor manages the agreed installation scope |
| Hybrid Installation | Homeowners comfortable with assembly but not specialized structural work | Contractor handles defined structural tasks; homeowner handles kit assembly |
Full DIY can make sense when the supporting surface is suitable, the required approvals and structural details have been addressed, and the homeowner has the necessary experience, tools, and assistance.
Potential advantages include reducing paid installation labor, controlling the project schedule, and completing the outdoor improvement personally.
The tradeoff is that the homeowner assumes responsibility for coordination, safe execution, and ensuring the work follows the relevant installation requirements. Mistakes can be costly to correct, especially when they involve structural support or attachment.
A contractor-led installation is often appropriate when the project involves uncertain foundation conditions, elevated decks, complicated building connections, challenging site access, or other specialized work.
Professional installation may also be preferable if the homeowner lacks reliable helpers or cannot comfortably manage large components.
When obtaining quotes, clarify whether the contractor's responsibilities include site preparation, foundations, structural attachment, permits, equipment, and final assembly. An installation quote should clearly identify what is included and excluded.
For many capable homeowners, splitting the project into professional and DIY portions can be a sensible compromise.
For example, a qualified contractor might establish suitable foundations or evaluate and complete the structural connection for an attached pergola. The homeowner could then assemble the supplied kit once the required preparation is complete.
This approach can preserve some potential labor savings without requiring the homeowner to undertake unfamiliar structural work.
However, responsibility must be clearly divided. Both parties should agree on support locations, attachment details, relevant drawings, tolerances, and the condition in which the contractor will leave the site.
Do not assume that finishing the foundations or attachment independently from the assembly guarantees that the two portions will fit together correctly. Coordination before either portion begins is essential.
This distinction is especially important when comparing attached pergola configurations, because the house connection can influence who should perform the installation.
Once you've chosen an installation approach, think through how the work will actually unfold. Good preparation can prevent a manageable assembly from turning into a frustrating or unsafe project.
Before assembly begins, verify the delivered components against the applicable packing information and installation documents.
Confirm that the available staging area can accommodate long components without obstructing pathways or creating unnecessary handling risks.
The route from delivery location to assembly area also matters. Narrow gates, landscaping, stairs, and changes in elevation can complicate movement of otherwise manageable materials.
The crew should understand which operations require simultaneous assistance and how components will be supported during positioning.
Discuss communication, lifting responsibilities, temporary stabilization, and the circumstances under which work should stop.
For particularly large or awkward components, appropriate lifting or access equipment may be necessary. Equipment rental should be considered during planning rather than after the crew discovers that a component cannot be positioned safely.
Any rented equipment must be suitable for the task and used by someone competent to operate it.
The manufacturer's installation instructions should determine the assembly sequence. Identify which stages depend on earlier work, which components require temporary support, and when additional helpers must be present.
Plan for a suitable weather window, especially when handling long components at height. Wind, precipitation, or slippery working conditions can make assembly unsafe.
A realistic installation schedule allows time for careful alignment, inspection, and unexpected interruptions rather than prioritizing speed.
Before scheduling the crew, verify that required structural preparation is finished, the planned support positions match the installation documents, and any applicable approvals have been addressed.
For a freestanding installation, having a suitable, accessible site and clearly established support locations can make the remaining assembly work considerably easier to organize.
Homeowners evaluating this approach can compare freestanding pergola options while considering the component sizes and post configurations their crew can reasonably manage.
Even an experienced DIY homeowner should recognize situations where specialized help is the more appropriate choice. The following conditions warrant professional evaluation before work proceeds.
If you cannot establish whether the proposed foundation, slab, deck, or supporting structure is suitable for the pergola, do not rely on visual appearance alone.
Elevated decks deserve particular attention because the pergola's loads and connections must be considered alongside the deck's existing structure.
A qualified contractor or structural professional should address support questions that exceed your experience.
 Attached pergola DIY installation becomes more complicated when the connection must accommodate unfamiliar wall construction, concealed structural elements, exterior finishes, or weatherproofing details.
Do not assume that siding, trim, or another visible exterior surface provides an adequate structural attachment point.
If the appropriate connection cannot be verified using the applicable design information and site conditions, professional involvement is warranted.
Underground utilities, overhead electrical lines, confined work areas, and uncertain local permit requirements are reasons to resolve the site conditions before installation.
Likewise, a property with difficult equipment access or limited working space may need a contractor capable of planning and executing the necessary handling operations.
Local requirements vary, so confirm what applies to your location rather than assuming a particular pergola size or configuration is automatically exempt.
Do not begin installation if the instructions, approved structural details, supplied components, or actual site conditions conflict in a way that affects safe assembly.
Before approving the order or committing to a labor plan, review:
Sunset Pergola Kits provides an assembly information and videos page that can help homeowners begin reviewing installation resources. Confirm that the documentation being used applies to your specific configuration.
If a critical requirement remains unclear, resolve it before construction begins. A professional evaluation is generally more useful before the work than after an unsuitable installation detail has been completed.
Installing a vinyl pergola yourself can be a practical choice when your site is properly prepared and your crew has the skills, tools, and lifting arrangements needed for the selected kit. But DIY suitability depends on the complete project, not just whether the structural components can be assembled.
Choose full DIY when the entire scope is within your capabilities, professional installation when structural or site conditions require specialized expertise, or a hybrid approach when you can confidently handle assembly but need help with foundations or attachment.
Once you've established your installation plan, explore vinyl pergola configurations that match your intended space, structural requirements, and available installation resources.
Vinyl pergola assembly generally requires multiple capable people to position and stabilize long structural components. The appropriate crew size depends on the pergola's dimensions, component handling requirements, lifting equipment, and manufacturer's instructions. Confirm the requirements for your specific kit before scheduling installation.
Solo installation is generally not advisable for a permanent aluminum-reinforced vinyl pergola. Long beams, rafters, and elevated connections may require simultaneous lifting, positioning, and stabilization. Plan for capable helpers and appropriate equipment rather than assuming one person can safely complete every stage.
Pre-cutting and pre-drilling depend on the manufacturer and specific kit configuration. Do not assume every component arrives ready for immediate assembly. Review the applicable product details, component information, and installation resources to verify what preparation and tools are required.
Depending on the pergola's size and installation conditions, a project may require rented lifting equipment, elevated work platforms, or specialized tools for the supporting surface and anchoring work. Verify the manufacturer's requirements and arrange suitable equipment and competent operators before installation.
Yes. A hybrid approach can allow a qualified contractor to complete foundations, structural support, or house attachment while the homeowner handles kit assembly. Agree on drawings, dimensions, responsibilities, and completion requirements before dividing the work.
Yes. An attached pergola requires an appropriate structural connection to the building, potentially involving specialized evaluation and weatherproofing considerations. A freestanding pergola relies on its own supports and anchoring system. Both require proper structural planning.
Review component dimensions and handling requirements, arrange enough capable helpers, establish a clear movement route, and identify appropriate lifting and temporary support equipment. Follow the manufacturer's assembly sequence and avoid lifting operations that cannot be safely controlled.
Review the selected kit's installation instructions, layout drawings, component information, tool requirements, applicable structural or attachment details, and any local approvals. If a contractor is involved, also confirm the written scope of work and responsibility for each installation stage.


