

MADE IN THE USA
with American products
w/ American products


Adding a solid-roof patio cover to an established outdoor living space changes where rainwater goes. Instead of falling across the patio, water landing on the new roof will travel toward one or more edges, potentially concentrating runoff near walkways, landscaping, or the home's foundation. Effective attached patio cover drainage planning means tracing that water all the way to an acceptable discharge location—not simply deciding whether the roof needs a gutter. This guide explains how to coordinate roof slope, collection, downspouts, and final discharge before selecting and installing your cover.
Before choosing a drainage arrangement, identify all the water that could reach the proposed patio cover. Rain falling directly onto its solid roof is the obvious source, but nearby house rooflines, existing gutters, and downspouts may complicate the situation.
A simple site sketch can reveal conflicts that are easy to overlook when viewing the patio from ground level.
 Draw the house wall and the proposed patio cover from above, then add a side-view sketch showing the roof elevations and surrounding ground.
Mark the following:
Use arrows to show existing water movement and a different set of arrows for the proposed patio cover drainage direction. This makes it easier to distinguish existing conditions from changes introduced by the new roof.
There are two distinct questions to answer:
The second question matters because an existing house gutter or downspout may already concentrate water in the proposed installation area.
For example, a downspout currently emptying onto an open patio may become obstructed by the new structure. Alternatively, an upper roof may discharge toward the proposed cover, introducing additional runoff that was not included in the original patio cover drainage concept.
Do not assume the new cover can receive runoff from the house roof. Have the installer evaluate whether the two drainage systems should remain separate or whether a specifically designed and permitted connection is appropriate.
The goal of this first step is not to design the final drainage system. It is to identify every relevant water source before deciding where the new roof should send its runoff.
An attached patio cover roof needs a drainage configuration that complies with its manufacturer's installation requirements. The required slope, allowable panel orientation, and intended discharge edge should be confirmed from the actual system being considered.
Do not select a generic roof pitch and assume it will work for every polycarbonate patio cover. Roof-panel systems differ, and their installation requirements govern how the finished roof must be configured.
The roof slope describes how much the roof elevation changes over a given horizontal distance. Together with the roof geometry, it helps determine the direction water travels.
Before approving the design, request the current manufacturer documentation and confirm:
These details must come from the specific manufacturer's instructions rather than assumptions based on photographs or another manufacturer's product.
For an attached patio cover, roof slope and available installation height are connected.
The house-side roof elevation must accommodate the verified slope while preserving appropriate clearance at the outer edge. A configuration that appears attractive in a product photograph may not fit beneath a particular home's eaves or architectural details.
For example, a homeowner might prefer a high outer roof edge to preserve an open view from the patio. However, the required roof slope could demand a higher house-side connection than the available space permits.
The solution is not to arbitrarily flatten the roof. Instead, the proposed configuration must be checked against the manufacturer's requirements and the home's available dimensions.
For the broader measurement process, including how roof elevations interact with eaves, doors, and windows, those clearances should be evaluated separately from the drainage design.
Use a simple verification worksheet before moving forward:
| Item to Verify | Information to Record |
|---|---|
| Selected roof system | Manufacturer and exact product configuration |
| Required roof slope | Manufacturer-approved value or range |
| Panel orientation | Required installation direction |
| House-side elevation | Proposed height and available clearance |
| Outer-edge elevation | Proposed height after applying verified slope |
| Drainage edge | Location where roof runoff is intended to leave the roof |
| Unresolved questions | Items requiring manufacturer or installer confirmation |
Once these details are verified, the drainage direction becomes a documented design condition rather than an assumption.
Once the roof's drainage direction is established, the next decision is what happens when water reaches the edge.
There are two broad approaches: collecting runoff in a gutter and directing it toward an outlet, or allowing runoff to leave a designated roof edge without a gutter.
Neither approach should be selected without considering the amount of water involved and what lies beneath the discharge location.
A gutter can collect water leaving the roof and direct it toward a designated downspout or outlet.
This approach is particularly worth evaluating when the roof edge faces:
A gutter provides control over where water leaves the roof, but it does not establish where that water can safely discharge. The outlet and downstream route still require planning.
Before specifying a gutter, confirm whether the selected patio cover includes one, offers a compatible gutter option, or requires a separately supplied collection system.
Also establish who is responsible for evaluating gutter and outlet capacity. The required capacity depends on the roof catchment, applicable rainfall design criteria, the gutter arrangement, and the proposed outlet configuration.
Do not assume a particular gutter size is adequate merely because it looks proportional to the roof.
 A gutter-free roof edge may be worth evaluating where the resulting runoff can be accommodated without creating problems below.
However, removing the gutter does not eliminate the water. It changes how that water reaches the ground.
Potential concerns include:
For a finished patio with expensive furnishings and carefully designed landscaping, these consequences can be more important than the visual simplicity of omitting a gutter.
Any gutter-free approach must also be compatible with the manufacturer's roof-edge requirements and applicable site drainage rules.
| Planning Factor | Gutter Collection | Gutter-Free Edge Discharge |
|---|---|---|
| Runoff concentration | Directs collected water toward designated outlets | Allows runoff to leave the designated roof edge |
| Patio circulation | Can help keep water away from selected walking areas | Requires careful evaluation of the area beneath the edge |
| Discharge planning | Requires outlet, downspout, and destination planning | Requires ground-level runoff and splash planning |
| System compatibility | Requires verification of gutter compatibility and availability | Requires verification that the roof-edge arrangement is permitted |
| Maintenance considerations | Gutters and outlets require access for inspection and cleaning | Ground-level receiving areas may require monitoring for erosion or pooling |
The better choice is the one that can be verified for the selected roof and managed successfully at the specific installation site.
When a gutter is used, patio cover downspout placement becomes one of the most consequential layout decisions.
A downspout positioned conveniently for the roof may be inconvenient—or problematic—at ground level.
Begin by marking potential outlet positions along the verified collection edge.
For each candidate, evaluate:
The most visually discreet outlet is not necessarily the best drainage location.
Connecting the new patio cover to an existing house drainage system may seem convenient, especially when a downspout already runs near the proposed installation.
However, the existing system may have been designed for a different roof catchment.
Adding another roof can increase the water entering a shared gutter, downspout, or underground drain.
Before proposing a connection, have the appropriate installer or drainage professional verify:
Do not assume an existing underground pipe is an acceptable destination simply because it is nearby.
A downspout near a patio corner may appear unobtrusive on a drawing but interfere with a walkway, planting area, or outdoor kitchen once installed.
Where conflicts exist, evaluate alternative outlet positions or routes with the installer before finalizing the roof layout.
Possible design responses may include relocating the outlet, changing the routing arrangement, or developing an appropriate drainage connection—provided the selected solution satisfies the applicable capacity, installation, and local requirements.
The important distinction is that the roof outlet location and the final water destination are related decisions. Moving one may require revisiting the other.
A drainage plan is incomplete until it identifies where the water ultimately goes.
Even a properly sloped roof with an appropriately designed gutter can create problems if the downspout empties into an unsuitable location.
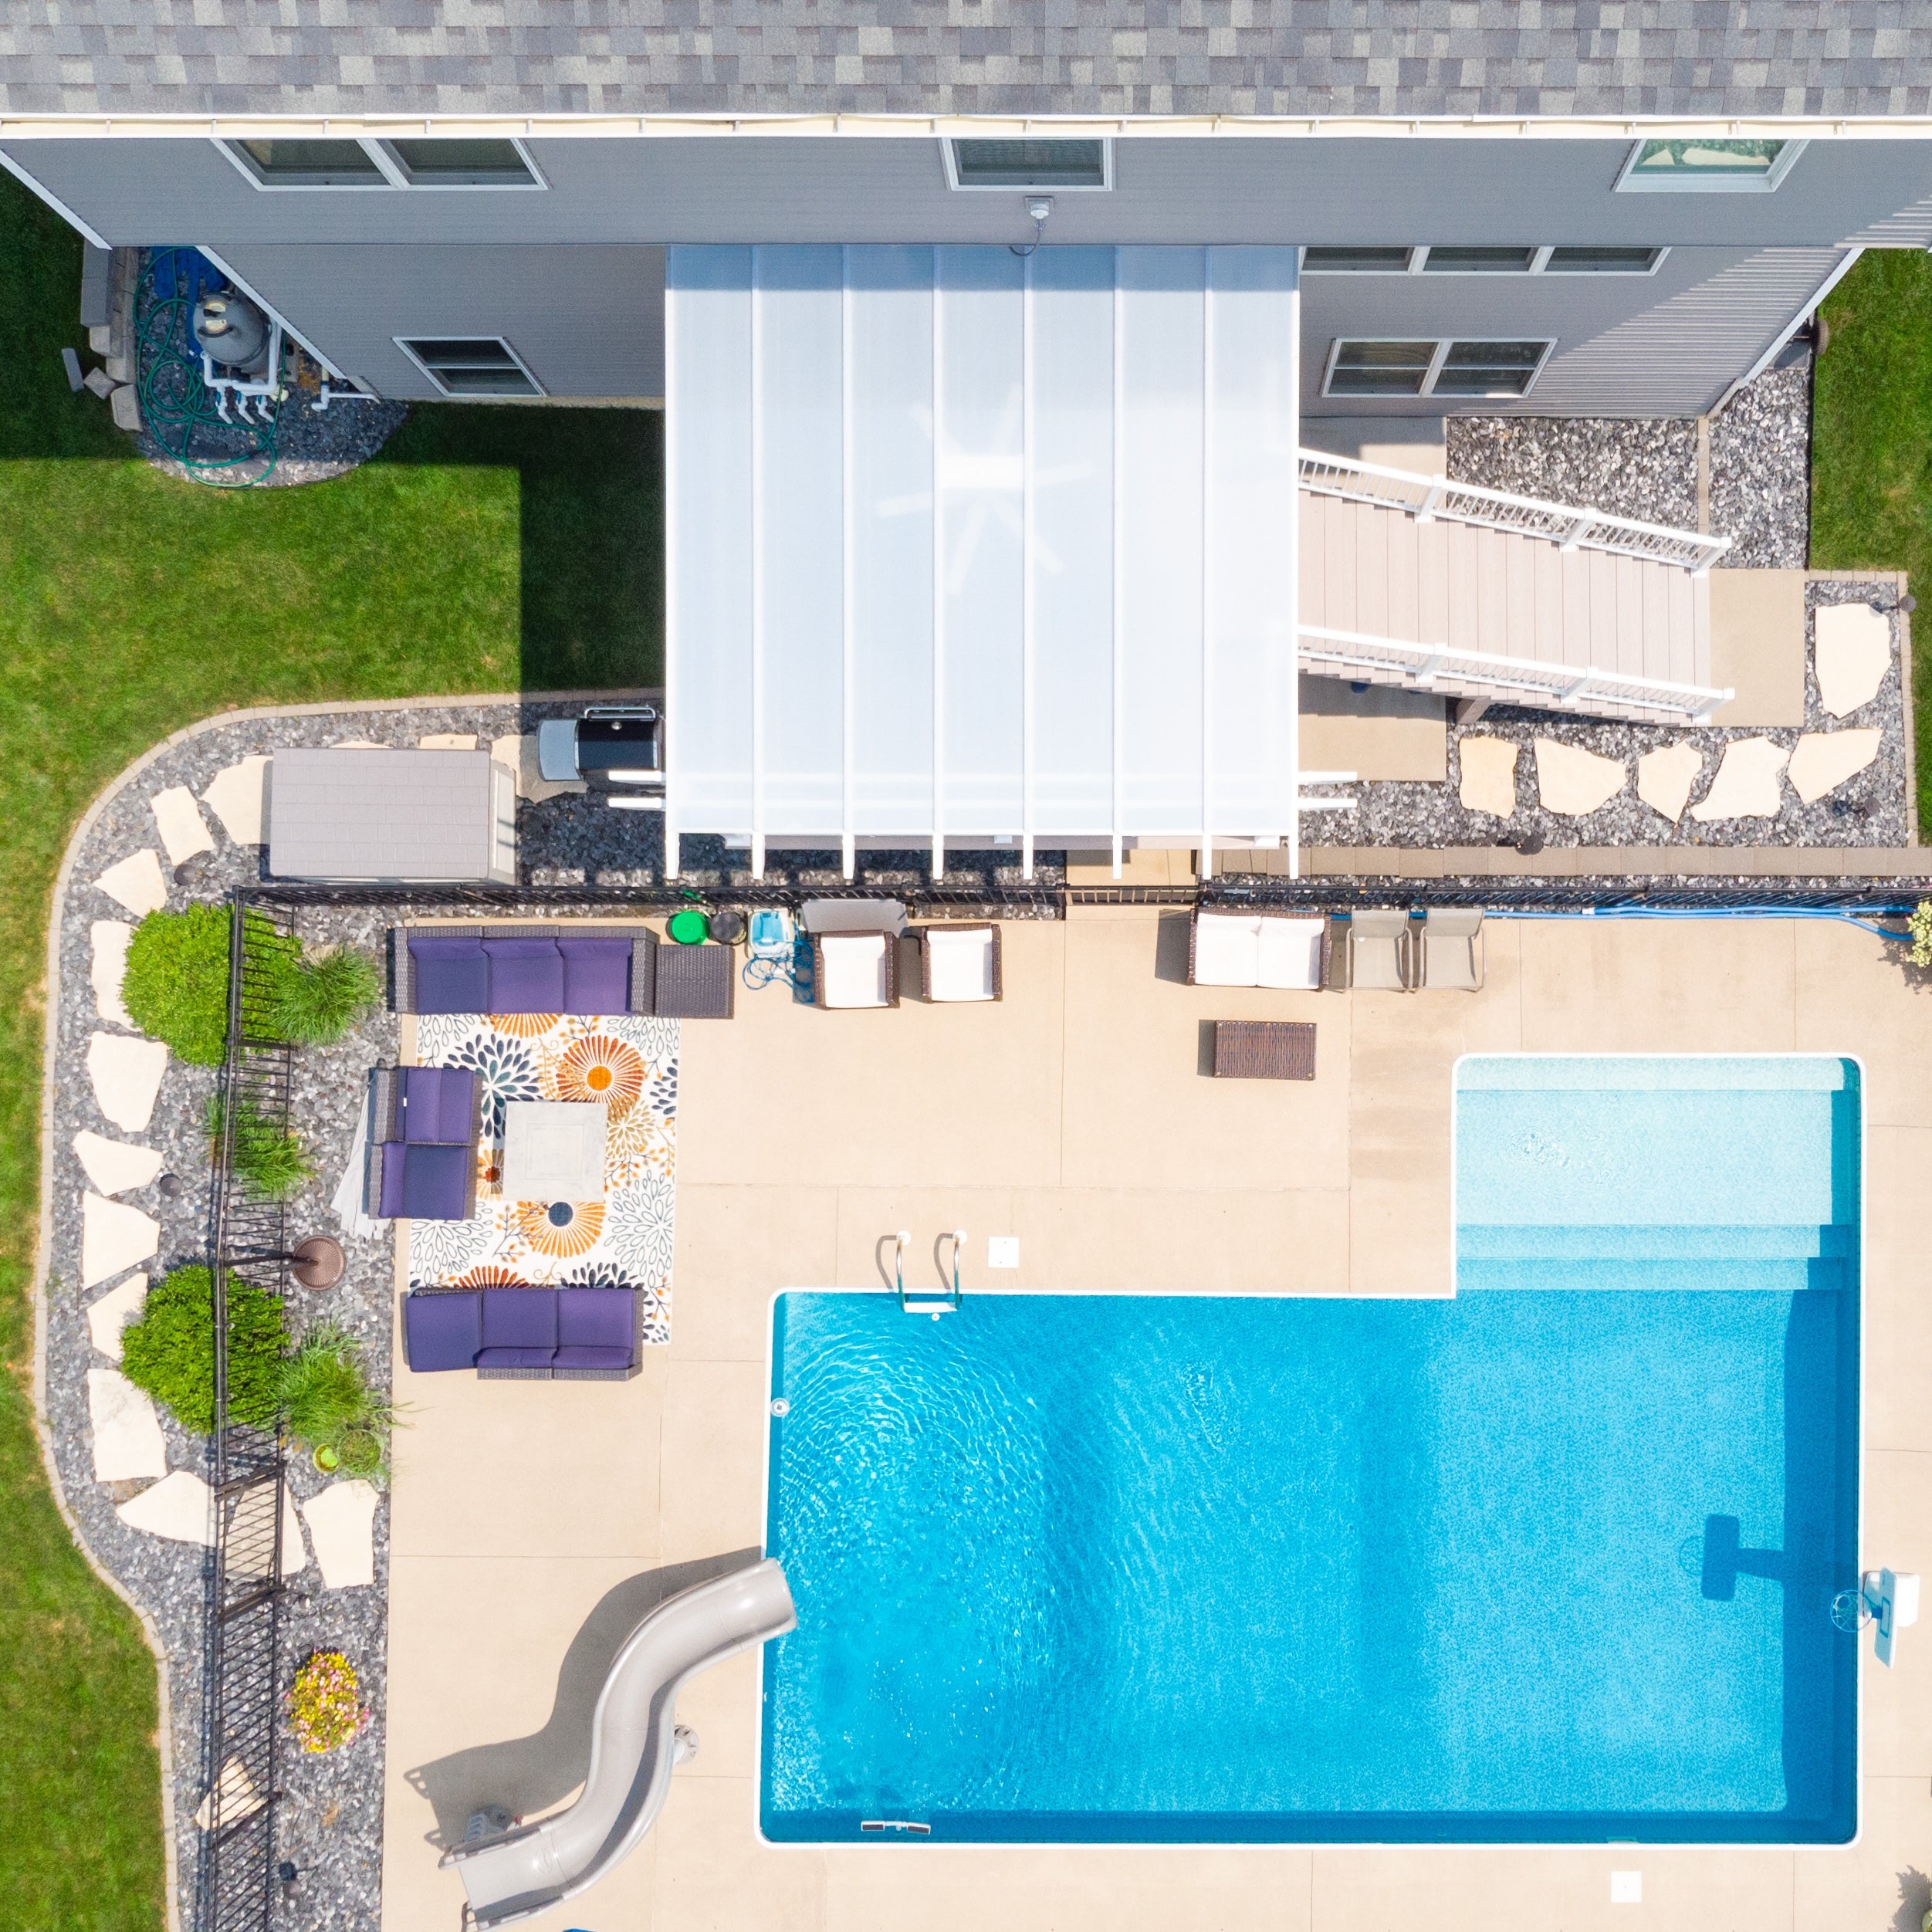 Trace the proposed discharge route across the actual property.
Ask what happens when water reaches the ground or enters the proposed drainage infrastructure.
Important questions include:
These questions apply whether water leaves through a downspout, a surface drainage arrangement, or an approved roof edge without a gutter.
A planting bed may look like a convenient place to release water, particularly when it lies beside the patio.
However, its suitability depends on factors such as soil conditions, slope, proximity to the foundation, and the volume of runoff being introduced.
A bed that handles ordinary rainfall may not necessarily accommodate concentrated discharge from an additional roof.
Similarly, a decorative gravel area or existing landscape drain should not automatically be assumed to provide adequate drainage capacity.
Evaluate the receiving area as part of the complete drainage system, not merely as an available space.
Local rules may affect where patio cover runoff can be discharged and whether it may connect to existing drainage infrastructure.
Requirements can vary by jurisdiction and property conditions.
Before approving the discharge location, verify the applicable requirements with the local building or stormwater authority, as appropriate.
Questions worth asking include:
Where site conditions are complicated, a qualified drainage professional may be needed to evaluate the proposed discharge arrangement.
A universal discharge distance from the foundation should not replace that site-specific evaluation.
Before ordering an attached solid-roof patio cover, consolidate the verified drainage decisions into a short written brief.
This document helps prevent a common coordination problem: the roof installer assumes someone else is handling drainage, while the homeowner assumes the roof installation includes a complete runoff solution.
The following checklist can be used when reviewing a proposed installation with the manufacturer, installer, or drainage contractor.
| Drainage Item | Required Decision or Verification | Responsible Party |
|---|---|---|
| Roof system | Identify the exact solid-roof product and configuration | Supplier / homeowner |
| Roof slope | Confirm the manufacturer's required or permitted slope | Manufacturer / installer |
| Panel direction | Verify approved panel orientation and runoff direction | Manufacturer / installer |
| Drainage edge | Identify where roof runoff will leave the roof | Installer |
| Collection method | Confirm gutter collection or an approved edge-discharge approach | Supplier / installer |
| Gutter and outlet capacity | Determine required capacity using applicable roof and rainfall inputs | Qualified installer / drainage professional |
| Downspout placement | Identify outlet locations and routing conflicts | Installer / homeowner |
| Existing house drainage | Verify whether existing systems are affected or can accept additional runoff | Qualified installer / drainage professional |
| Final discharge destination | Confirm the complete route and suitability of the receiving location | Drainage professional / homeowner |
| Local requirements | Confirm applicable stormwater, drainage, and approval requirements | Homeowner / local authority |
| House-wall interface | Assign responsibility for the separate wall-connection waterproofing details | Installer / appropriate contractor |
The responsible-party column identifies suggested coordination roles, not a universal assignment of contractual or legal responsibility. Confirm the actual scope of work with everyone involved.
Wall-connection waterproofing should be reviewed separately from the roof's overall runoff route. A successful drainage plan does not, by itself, establish that the connection to the house has been properly waterproofed.
Consider a hypothetical homeowner planning a solid-roof attached patio cover measuring 24 feet wide along the house and 12 feet deep.
These dimensions are illustrative, not a recommended drainage design or a statement about a particular manufacturer's roof configuration.
The home has a narrow walkway along one side of the patio and landscaped planting beds on the other.
The homeowner initially proposes placing a gutter along the outer roof edge and directing its outlet toward the walkway because that appears to be the shortest route.
However, reviewing the entire drainage path reveals several questions:
The homeowner may discover that the shortest downspout route is not the most practical one.
Rather than ordering the cover and addressing the conflict afterward, the homeowner can work with the installer to establish a feasible collection and discharge arrangement first.
For larger installations, this coordination can be particularly important. Sunset Pergola Kits offers attached rainproof patio covers with solid polycarbonate roofs, including configurations with two or three supporting posts. The specific roof and drainage details should be verified for the selected configuration rather than inferred from its overall dimensions.
The drainage brief should distinguish between confirmed decisions and unresolved questions.
Before ordering, aim to have:
If any of these decisions remain unresolved, identify who will provide the missing information and when it must be approved.
Some details may require final engineering or installation review, but the basic drainage concept should be feasible before the homeowner commits to a particular roof configuration.
Successful attached patio cover drainage depends on more than roof slope or the presence of a gutter. The roof configuration, collection method, downspout route, and final discharge destination must work together as one coordinated system.
Before choosing a cover, confirm the manufacturer's drainage requirements and document how runoff will travel from the roof to an acceptable destination. With that information in hand, you can compare solid-roof patio cover configurations based not only on their appearance and dimensions, but also on how well they fit the drainage needs of your home and finished outdoor space.
No. An existing downspout may not have sufficient capacity for additional roof runoff, and connecting the systems may not be permitted or appropriate. Have the installer or drainage professional verify the combined catchment, system capacity, connection compatibility, and downstream discharge route before proposing a shared connection.
No. Roof slope helps determine how water travels across the roof, but a complete drainage plan must also address the discharge edge, collection method, downspout routing, and final water destination. The selected manufacturer's slope and panel-orientation requirements must be verified.
No. The discharge location should be evaluated for splash, ponding, erosion, pedestrian safety, and water movement toward the home. A convenient location beside the patio is not necessarily a suitable final discharge point.
Mark the upper roof edge, existing gutter or downspout, and expected runoff direction on the site sketch. Identify this as a separate water source requiring installer review. Do not assume the new patio cover can receive or manage runoff from the existing house roof.
Evaluate alternative outlet positions or drainage routes before finalizing the installation. The selected arrangement must remain compatible with the roof collection system, provide adequate drainage capacity, and avoid creating unsafe or inconvenient conditions along the walkway.
No. Planting beds may not have sufficient capacity to absorb concentrated roof runoff. Their suitability depends on soil conditions, grading, runoff volume, foundation proximity, and applicable drainage requirements. A site-specific evaluation is needed before selecting a planting bed as the discharge destination.
No. Without a gutter, water still leaves the roof and reaches the ground below. The receiving area must be evaluated for splashing, pooling, erosion, and runoff toward the house or neighboring property. The gutter-free arrangement must also comply with the selected roof system's installation requirements.


