

MADE IN THE USA
with American products
w/ American products


A useful vinyl pergola buying guide should do more than compare appearances. Once you have decided that vinyl is right for your project, you still need to coordinate the location, mounting type, roof function, style, dimensions, post layout, and installation plan.
The sequence below will help you convert those interconnected decisions into a preliminary pergola specification. By the end, you should be able to identify a short list of suitable configurations—and recognize which project details still need to be confirmed before ordering.
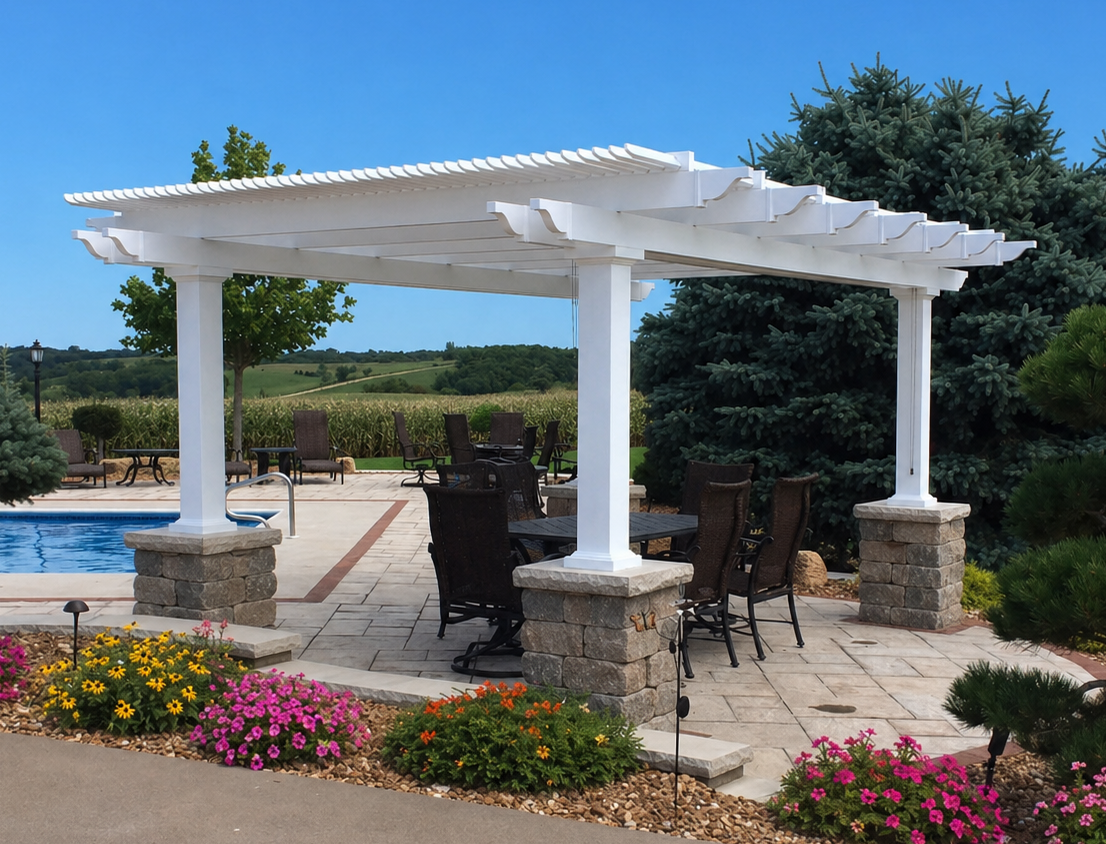 Start by defining what will happen beneath the pergola. A shaded dining area, poolside lounge, outdoor kitchen, and hot-tub retreat can require different footprints, post locations, roof functions, and relationships to the house.
Measure more than the furniture itself. The planned footprint should account for the space people need to pull out chairs, walk around seating, approach an outdoor kitchen, open doors, and move between the house and yard.
Outline the intended zone on the patio or deck before selecting a kit. Temporary markers can help you visualize where the roof edges and posts would fall. Ask:
Consider when the area is most likely to be used and where the sun is during those hours. The useful coverage zone may not align perfectly with the existing patio boundary. A structure centered on the hardscape could leave an important seating area less protected than expected.
The house also affects the experience. A pergola immediately outside a frequently used door can feel like an extension of the interior living space. A structure positioned elsewhere in the yard can create a distinct destination with different views and greater placement flexibility.
Write down which conditions are nonnegotiable. Protecting a dining table from rain is an essential roof-function requirement. Preferring black vinyl may be important aesthetically, but it should not override an unsuitable footprint or mounting configuration.
This distinction prevents an appealing photograph or individual feature from driving the project before the functional requirements are settled.
The central question is whether the pergola should extend directly from a suitable building wall or stand independently on its own posts. Sunset Pergola Kits offers traditional, modern, and rainproof structures in both configurations, although the available dimensions and post arrangements vary.
An attached configuration is often the logical starting point when the activity zone is immediately beside the house and a continuous transition from indoors to outdoors is important. The building supports one side of the structure, which reduces the number of posts along that side.
That can be valuable when posts near the wall would interfere with doors, windows, walkways, or furniture. However, attachment feasibility depends on the building and the project-specific connection plan. Do not assume that proximity to the house automatically makes attachment possible.
Homeowners whose usable area sits directly against the building can begin by reviewing wall-mounted pergola configurations, subject to confirmation that the structure can be properly attached.
A freestanding structure is usually better when the desired coverage zone is away from the house, when attachment is not feasible, or when independent placement provides a better relationship to a pool, garden, outdoor kitchen, or distant patio.
Freestanding does not necessarily mean remote. An independent pergola can be placed near a house while avoiding a structural connection, provided its posts and foundation plan work with the site. The tradeoff is that posts are needed on all supported sides, so their effect on circulation and furniture placement must be evaluated early.
Before selecting a specific model, compare the planned footprint against the available freestanding pergola options and mark every proposed post location on the site.
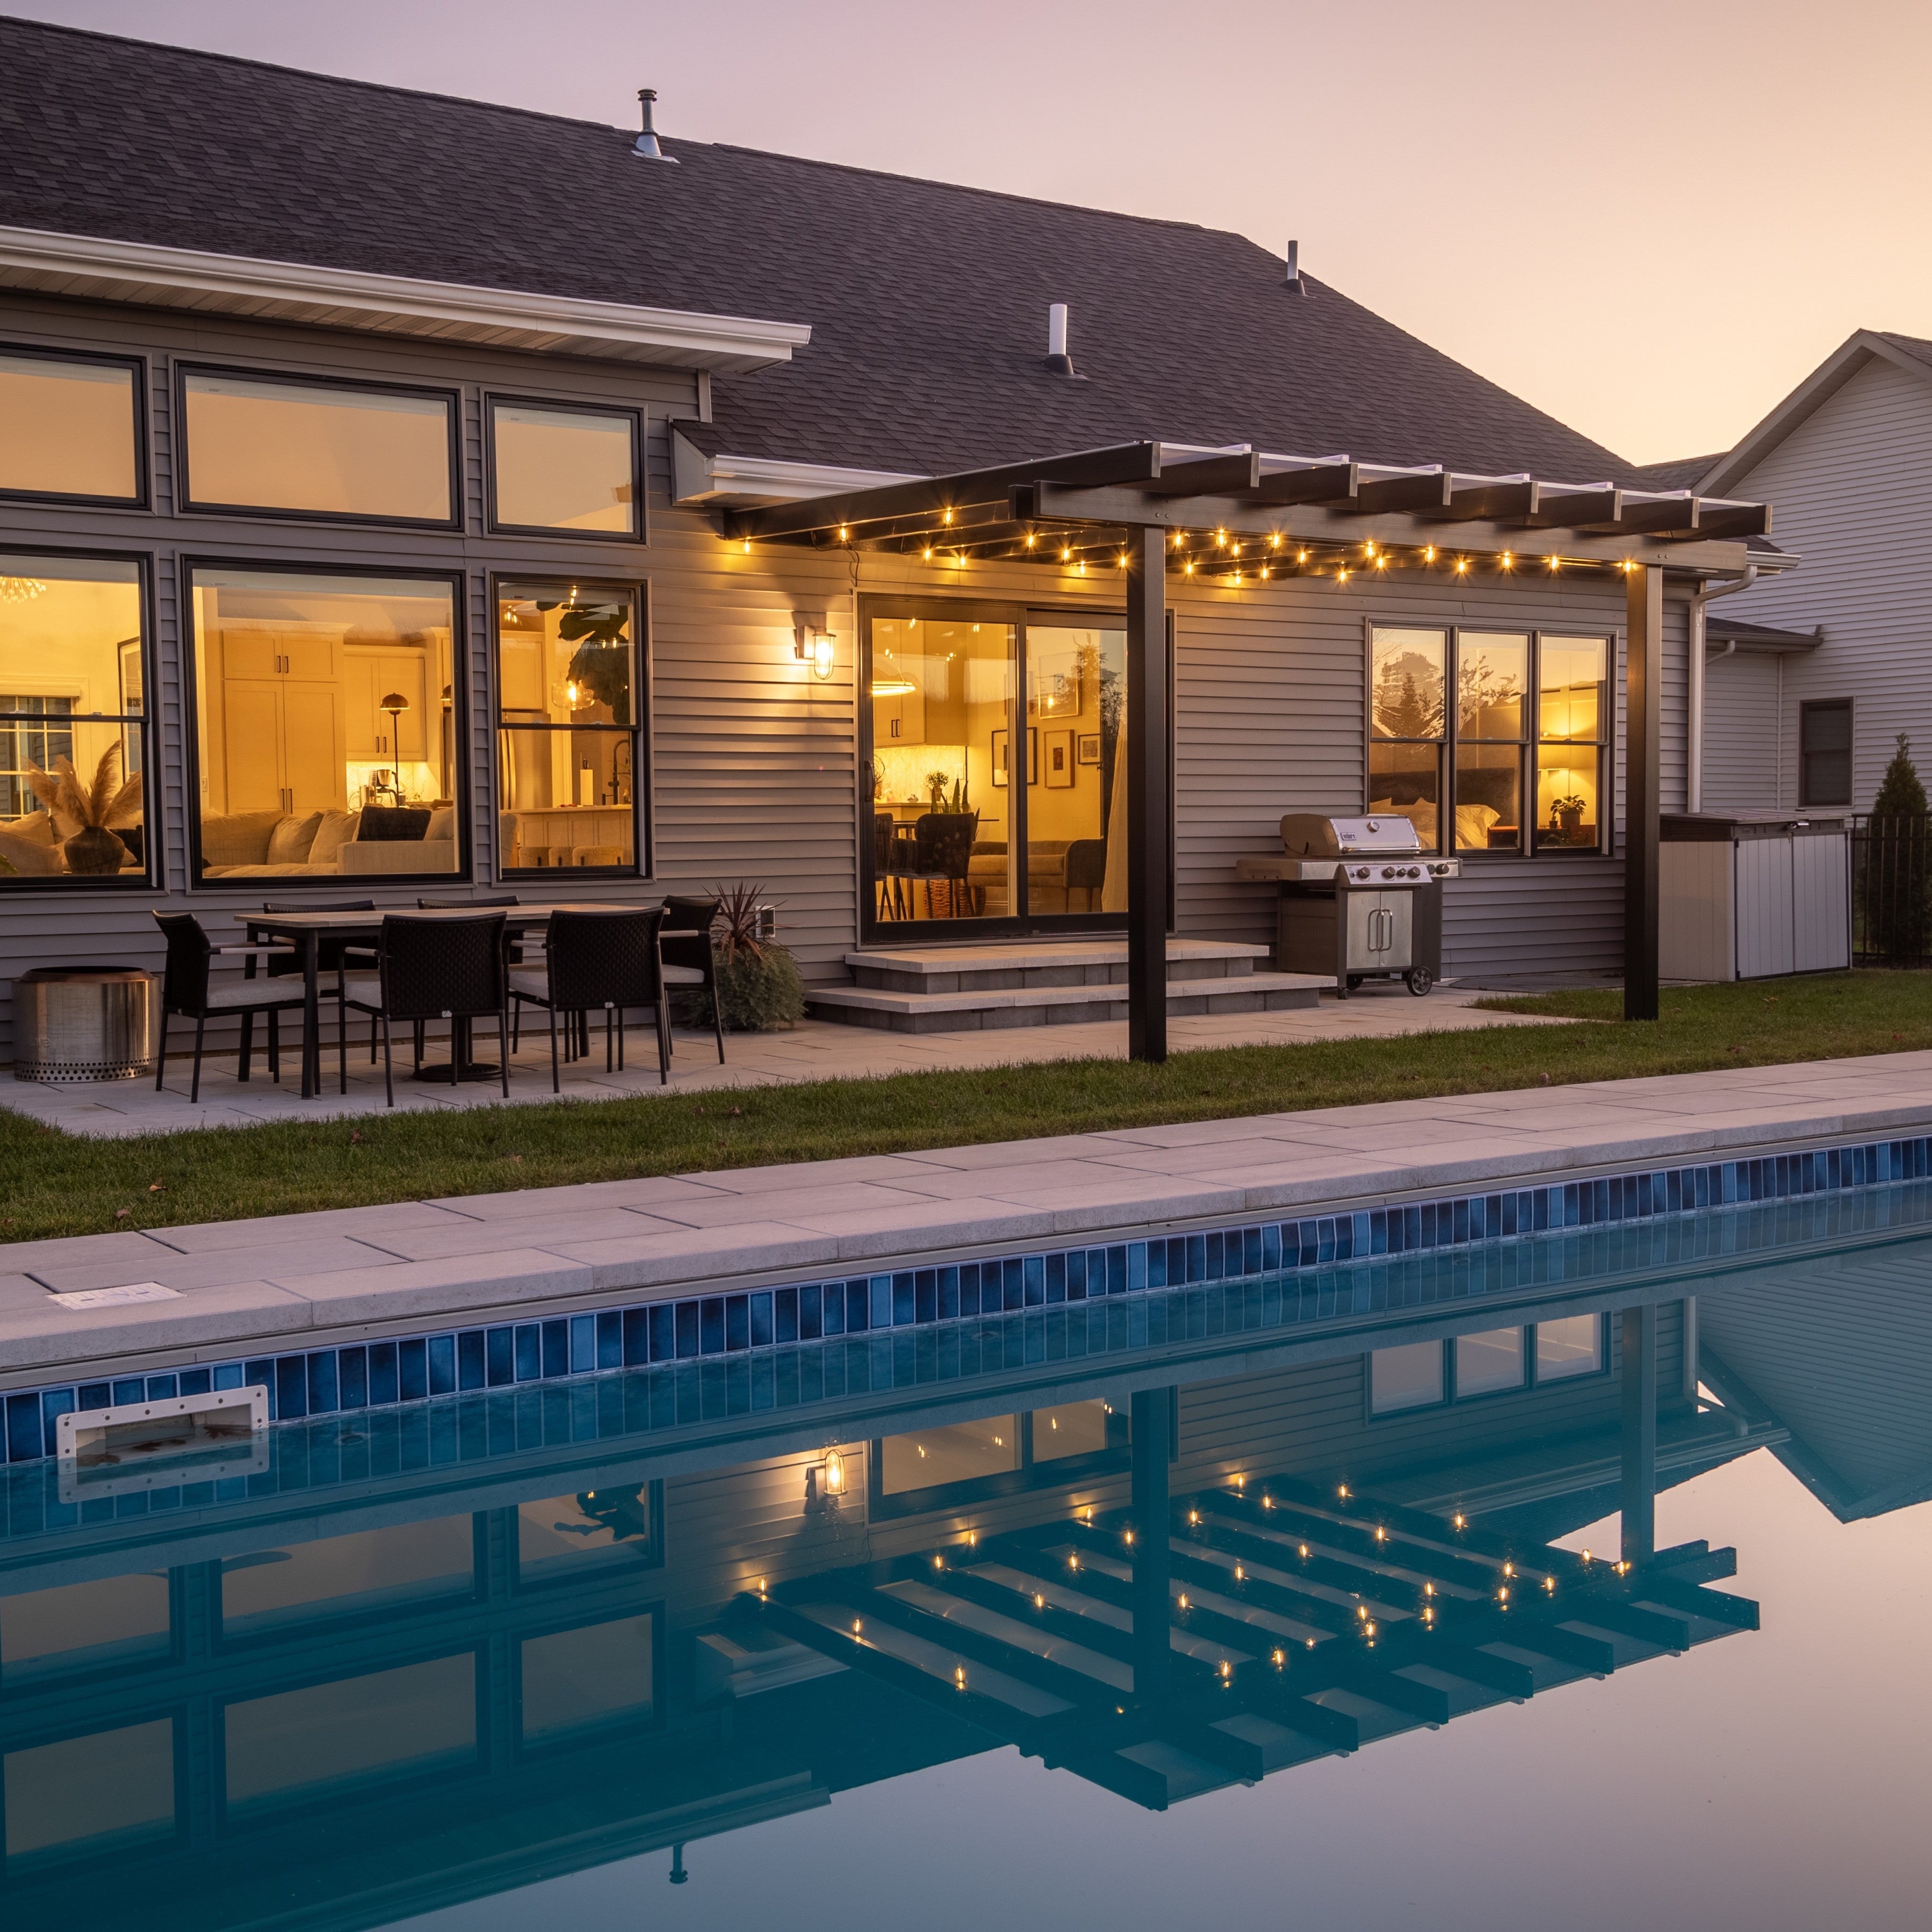 Choose the roof category according to the job it must perform. A slatted pergola provides shade while retaining the characteristic open-roof appearance. A patio cover uses solid polycarbonate panels when keeping the area beneath the roof protected from rain is a primary requirement.
Traditional and modern pergolas use fixed angled shade slats. Three spacing options provide approximately 50%, 75%, or 90% shade coverage:
| Shade option | Slat spacing | Buying implication |
|---|---|---|
| 50% shade | 6 inches on center | Best starting point when a more open overhead appearance and partial shade are preferred. |
| 75% shade | 4 inches on center | A middle option for buyers who want more shade without choosing the densest slat arrangement. |
| 90% shade | 3 inches on center | The highest slatted shade level, but still not a rainproof roof. |
The crucial distinction is that even the 90% option remains a slatted roof. If the project requires a patio to remain dry, increasing the shade percentage does not turn the pergola into a rainproof structure. Buyers who have settled on shade rather than rain protection can explore the available pergolas with fixed slatted roofs.
Rainproof patio covers use solid polycarbonate roof panels in white or bronze. Both panel colors provide 100% UV protection and are designed to make the covered patio up to 15 degrees cooler. The frame retains a traditional profile and can be freestanding or attached.
This category is more appropriate when the planned use depends on reliable overhead coverage, such as protecting an outdoor dining or seating area from rain. Its roof carries a 10-year warranty, while the frame has a lifetime warranty.
These are fixed, permanent structures. Sunset Pergola Kits does not offer louvered, motorized, retractable, or canvas-roof systems. A buyer who requires adjustable sunlight at the touch of a button is looking for a different product category.
This limitation can also be an advantage for homeowners who prefer a permanent roof configuration without motorized or moving components. The important point is to choose the fixed roof function that matches the intended use from the beginning.
Traditional and modern pergolas share aluminum-reinforced structural components, premium extruded vinyl exteriors, fixed shade slats, and lifetime warranties. Their main selection differences involve visual form, post placement, visible customization, and available size ranges.
A traditional pergola can include beam and rafter overhangs from zero to 36 inches. Posts can remain at the corners or be inset by as much as 36 inches. Scrolled, beveled, and flat end caps are available, along with several square and round post styles.
These options make traditional pergolas a strong fit when the home has established architectural detailing or when decorative ends, substantial columns, and projecting beams are part of the desired composition.
Inset posts can also change how the structure fits a patio. They allow the roof to extend beyond the posts, but the posts then move farther into the usable zone. That may be visually appealing while creating a conflict with furniture or circulation, so overhang and post placement should be evaluated together.
Modern pergolas have square, flush corners with no beam or rafter overhangs and no decorative end caps. Their posts must remain in the corners rather than being inset. White and tan models use 7-inch square posts, while black models use 8-inch square posts.
This design is well suited to contemporary homes and outdoor spaces where simple rectangular geometry is preferable to projecting beams or ornamental ends. The tradeoff is less customization of the silhouette and post location.
Style should complement the property without compromising function. A modern pergola may align naturally with a home that has flat planes and minimal detailing. A traditional structure may relate better to pronounced trim, columns, roof projections, or a more ornamental landscape.
Before deciding, compare both styles from the viewpoints that matter: from inside the house, from the main approach, and from the seating area. Then confirm that the corresponding post rules and size family still work for the planned activity zone.
The right pergola size begins with the usable space beneath it—not with the largest structure that fits within the property boundaries. Determine the width and projection needed to cover the intended activity while preserving circulation and avoiding conflicts.
Record the maximum outside footprint available, but also create an interior layout showing furniture, walkways, doors, steps, cooking equipment, pool edges, and other fixed elements. Mark the potential post positions rather than drawing only the roof perimeter.
For an attached pergola, distinguish between the dimension running along the building and the projection extending outward. For a freestanding pergola, maintain a consistent orientation in your notes so width and depth are not accidentally reversed when comparing models.
The pergola dimensions directory can help you identify product families after you have established the required footprint.
A pergola should feel proportionate to both the house and the outdoor activity zone. A structure that barely covers the furniture can feel undersized once people are seated and moving through the space. Conversely, choosing a much larger roof solely because the yard can accommodate it may weaken the intended relationship between the pergola and patio.
Use the actual activity boundary as the starting point, then evaluate how the proposed roof and post layout relate to the surrounding architecture. This produces a more useful preliminary size than simply matching the dimensions of an existing slab.
Size availability differs by style, mounting configuration, and post count. A footprint that works within the traditional product family may exceed the corresponding modern or patio-cover range. Map your preliminary dimensions to the verified ranges below before treating a particular style as settled.
| Configuration | Post count | Available size range |
|---|---|---|
| Freestanding | 4 posts | 8–24 feet by 8–24 feet |
| Freestanding | 6 posts | 28–44 feet by 8–24 feet |
| Freestanding | 9 posts | 28–44 feet by 28–44 feet |
| Attached | 2 posts | 8–24 feet attached by 8–24 feet outward |
| Attached | 3 posts | 28–44 feet attached by 8–24 feet outward |
| Attached | 4 posts | 8–24 feet attached by 28–44 feet outward |
| Attached | 6 posts | 28–44 feet attached by 28–44 feet outward |
| Configuration | Post count | Available size range |
|---|---|---|
| Freestanding | 4 posts | 8–16 feet by 8–16 feet |
| Freestanding | 6 posts | 18–32 feet by 8–16 feet |
| Freestanding | 9 posts | 18–32 feet by 18–32 feet |
| Attached | 2 posts | 8–16 feet attached by 8–16 feet outward |
| Attached | 3 posts | 18–32 feet attached by 8–16 feet outward |
| Attached | 4 posts | 8–16 feet attached by 18–32 feet outward |
| Attached | 6 posts | 18–32 feet attached by 18–32 feet outward |
| Configuration | Post count | Available size range |
|---|---|---|
| Freestanding | 4 posts | 8–20 feet by 8–20 feet |
| Freestanding | 6 posts | 24–32 feet by 8–20 feet |
| Attached | 2 posts | 8–20 feet attached by 8–20 feet outward |
| Attached | 3 posts | 24–32 feet attached by 8–20 feet outward |
These ranges are useful for preliminary screening, but they are not a substitute for project-specific confirmation. If your dimensions sit outside one product family, revisit the style or roof decision rather than assuming that the same footprint is available across every category.
Post count also affects the usable area. Place each required post on your site sketch and confirm that the resulting layout works with furniture, walkways, doors, steps, and fixed outdoor features.
 Once the location, roof category, style, size, and post arrangement are workable, refine the short list with color and applicable structural options. These specifications matter, but they should come after the decisions that determine whether the configuration fits.
All three primary product types are available in white, tan, or black vinyl. White is the most affordable option, tan costs more, and black is the most expensive.
Evaluate color against the home’s exterior, trim, windows, roofing, and other permanent features. Also compare real installations when possible, because a large overhead structure can have more visual impact than a small material sample suggests.
Color can affect certain details. Modern pergolas use 7-inch square posts in white and tan, but black modern pergolas use 8-inch square posts. Include that distinction when evaluating the proportions of a black contemporary structure.
Optional fan mounts are available for traditional pergolas, modern pergolas, and rainproof patio covers. If a ceiling fan is part of the plan, identify it before finalizing the configuration rather than treating it as an unrelated addition after the kit arrives.
The fan mount does not resolve electrical planning or installation. Those project details should be coordinated separately with an appropriate professional.
Optional hurricane brackets are available for traditional pergolas and rainproof patio covers. They are recommended when the area ever experiences winds of 80 mph or more, and adding them provides a lifetime wind-damage warranty for the pergola.
Hurricane brackets are not offered for modern pergolas. Therefore, a project that calls for this option should not proceed with a modern configuration simply because its appearance is preferred. Site-specific wind suitability and any applicable structural requirements still need to be confirmed for the actual project.
A suitable product configuration can still become a poor project choice if the site or installation plan is not ready. Review how the structure will be supported, delivered, staged, and assembled before placing the order.
For a freestanding pergola, confirm where every post will land and how the foundation or mounting surface will be addressed. Do not assume that an existing patio or deck is automatically suitable merely because its dimensions are large enough.
For an attached pergola, confirm that the proposed location and building conditions support the required connection plan. Note nearby doors, windows, rooflines, utilities, trim, and other features that could affect placement.
These are permanent, professional-grade structures rather than temporary decorative pergolas. Consider access from the delivery point to the installation area, space for staging components, the size of the selected structure, and the people or equipment needed to complete the work safely.
The kits are designed to be DIY-friendly and may also be installed by a local contractor. The better choice depends on the project’s configuration, site conditions, and the installer’s capabilities—not simply on whether the product is sold as a kit.
Before ordering, determine which local approvals, engineering documentation, contractor qualifications, or site-specific reviews may apply. Requirements can differ by location and project, so avoid relying on assumptions from an installation completed elsewhere.
Prepare photographs, measurements, the proposed attachment or foundation concept, and any known local requirements when requesting configuration assistance. Clear information makes it easier to identify unresolved issues before the structure is ordered.
Your goal is not to compare every pergola in the catalog. It is to eliminate configurations that fail an essential requirement and compare only the remaining candidates.
| Decision | What to record | What it narrows |
|---|---|---|
| Location and use | Activity zone, furniture, walkways, views, doors, and fixed features | Required coverage area and workable post locations |
| Mounting type | Attached or freestanding | Structural arrangement and number of supported sides |
| Roof function | 50%, 75%, or 90% slatted shade, or solid rainproof coverage | Slatted pergola versus patio-cover category |
| Style | Traditional or modern | Overall form, overhangs, end caps, post choices, and available sizes |
| Dimensions | Width, projection, and orientation | Compatible product and post-count families |
| Post layout | Corner or inset placement where available | Usable interior space and circulation |
| Final specifications | Color, post style, end caps, fan mount, and applicable wind option | Specific kit configuration |
| Installation plan | Support or attachment plan, access, installer, and local requirements | Project readiness and facts still needing confirmation |
A complete preliminary specification might read: “Attached traditional pergola with a fixed 75% shade roof, sized for the dining and circulation zone, with inset posts, white vinyl, beveled end caps, and a fan mount, subject to confirmation of the wall connection and site requirements.”
That statement is far more useful than beginning with “I like the white pergola.” It identifies a mounting type, roof function, style, approximate footprint, post approach, visible options, and unresolved project questions.
Repeat the process for any viable alternative. If only one or two configurations satisfy every essential condition, you have a practical short list. If none do, revisit the preference with the least functional importance rather than compromising a requirement such as rain protection, safe circulation, or feasible post placement.
The best vinyl pergola kit is not one universal model. It is the complete configuration that fits the property, covers the intended activity zone, provides the right roof function, complements the home, and can be properly installed on the site.
Once you can state your preferred location, mounting type, roof category, style, dimensions, post layout, color, optional features, and installation plan, browse the vinyl pergola collection and compare only the configurations that satisfy those requirements. Confirm any remaining structural and site-specific details before making the final selection.
Yes. Choose and measure the activity zone first so the kit can be evaluated against the required coverage, walkways, views, sun exposure, and workable post locations.
Yes. Sunset Pergola Kits offers traditional and modern slatted pergolas in attached and freestanding configurations. Rainproof patio covers are also available both ways, although size and post-count options differ.
No. Fixed slats provide 50%, 75%, or 90% shade but are not rainproof. Choose a patio cover with a solid polycarbonate roof when keeping the space protected from rain is essential.
Yes. Optional fan mounts are available for traditional pergolas, modern pergolas, and rainproof patio covers. Electrical and fan-installation requirements must be planned separately.
Yes. White is the most affordable vinyl color, tan costs more, and black is the most expensive option.
No. Traditional, modern, and rainproof product families have different size ranges and post-count requirements. Compare your measurements with the applicable configuration rather than assuming one size is available in every style.
Yes. The kits can be installed as a DIY project or by a local contractor. The appropriate choice depends on the structure’s size and configuration, the site conditions, and the installer’s capabilities.
Prepare the location, intended use, width and projection, attached or freestanding preference, shade or rain-coverage requirement, preferred style and color, proposed post locations, optional features, site photographs, and known installation or local requirements.


